Jun 30, 2013
Jason Ok, maybe a little much for the majority out there...
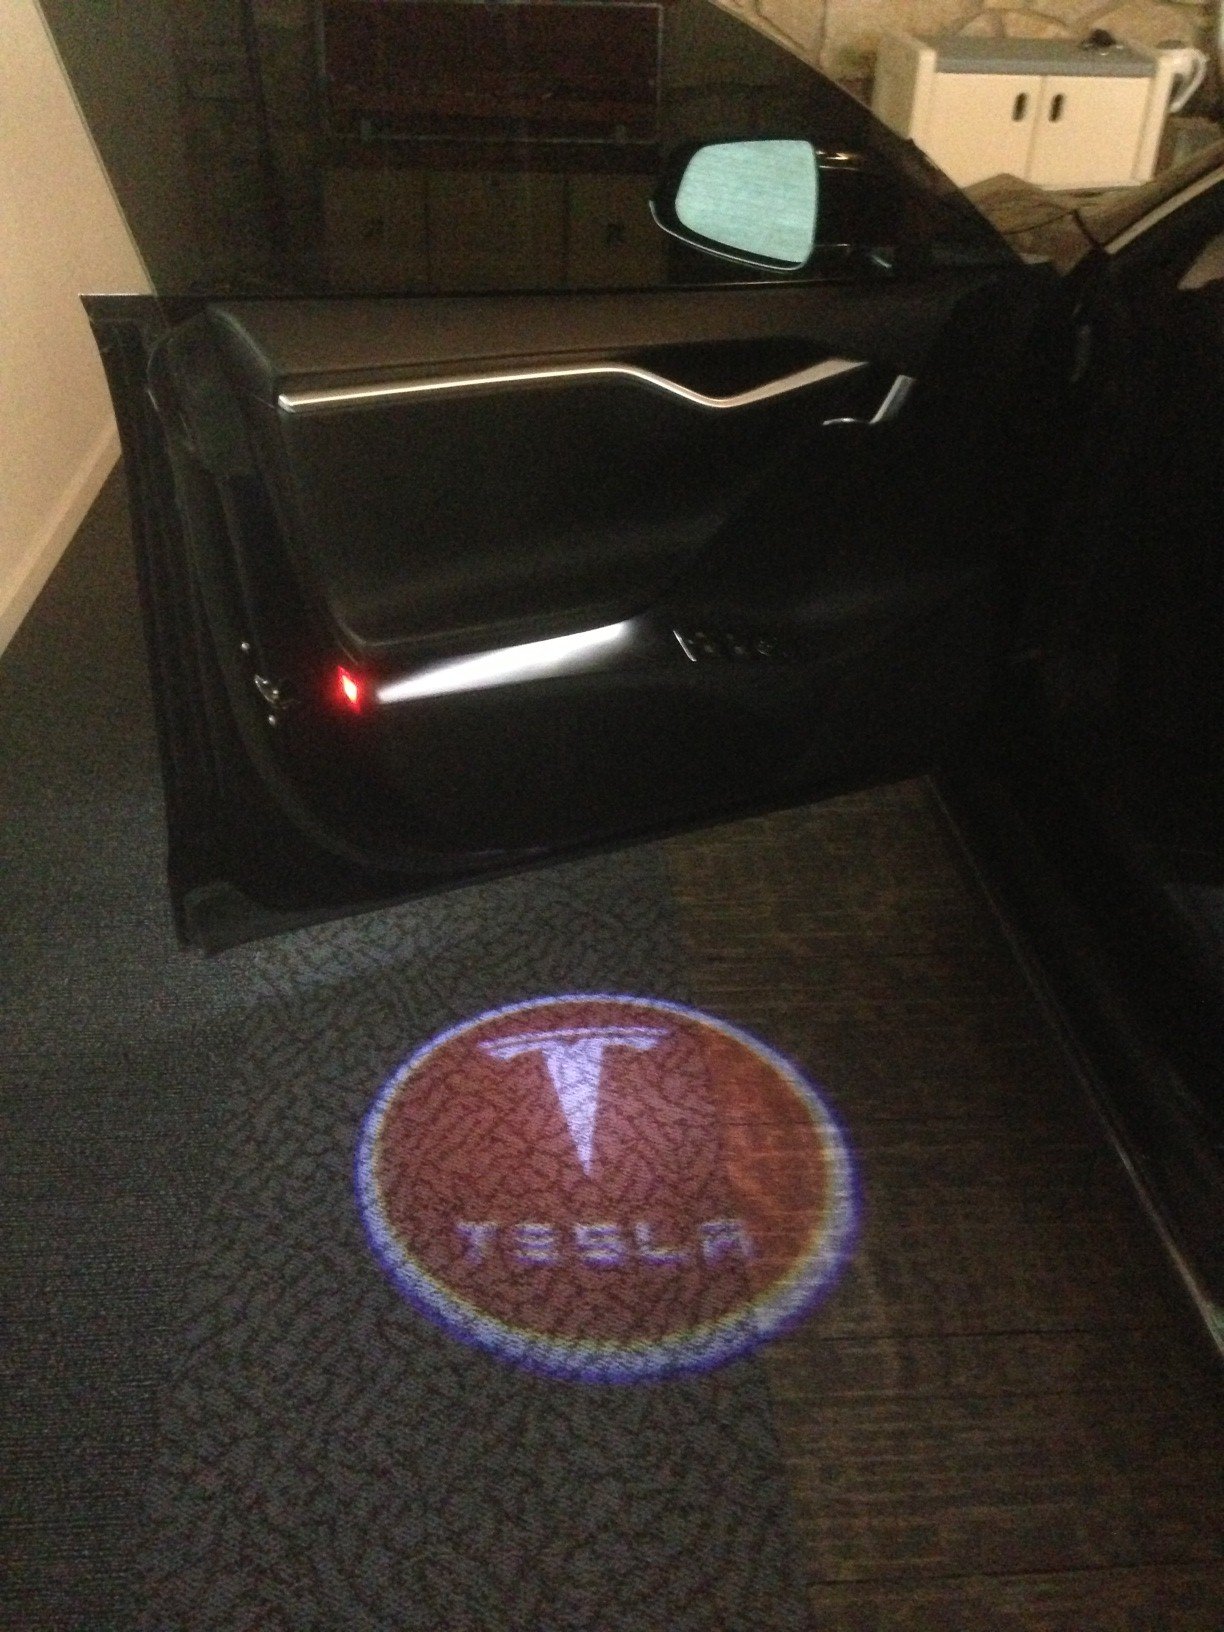
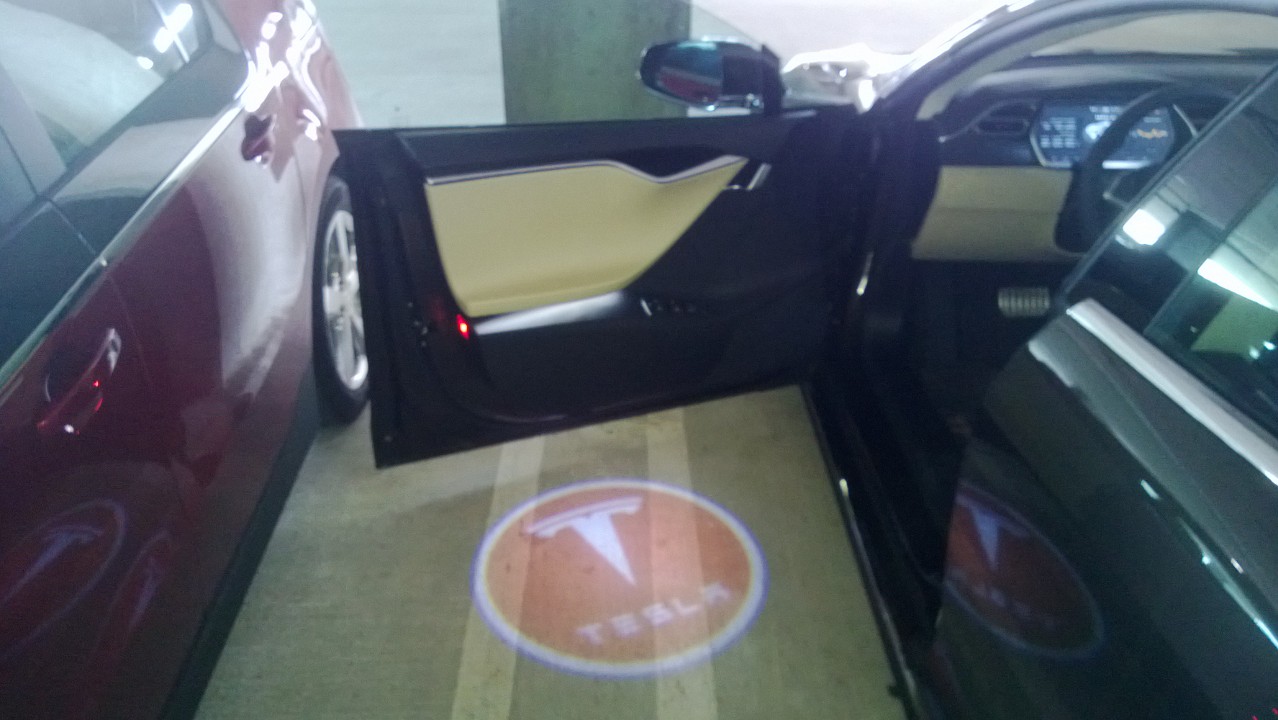
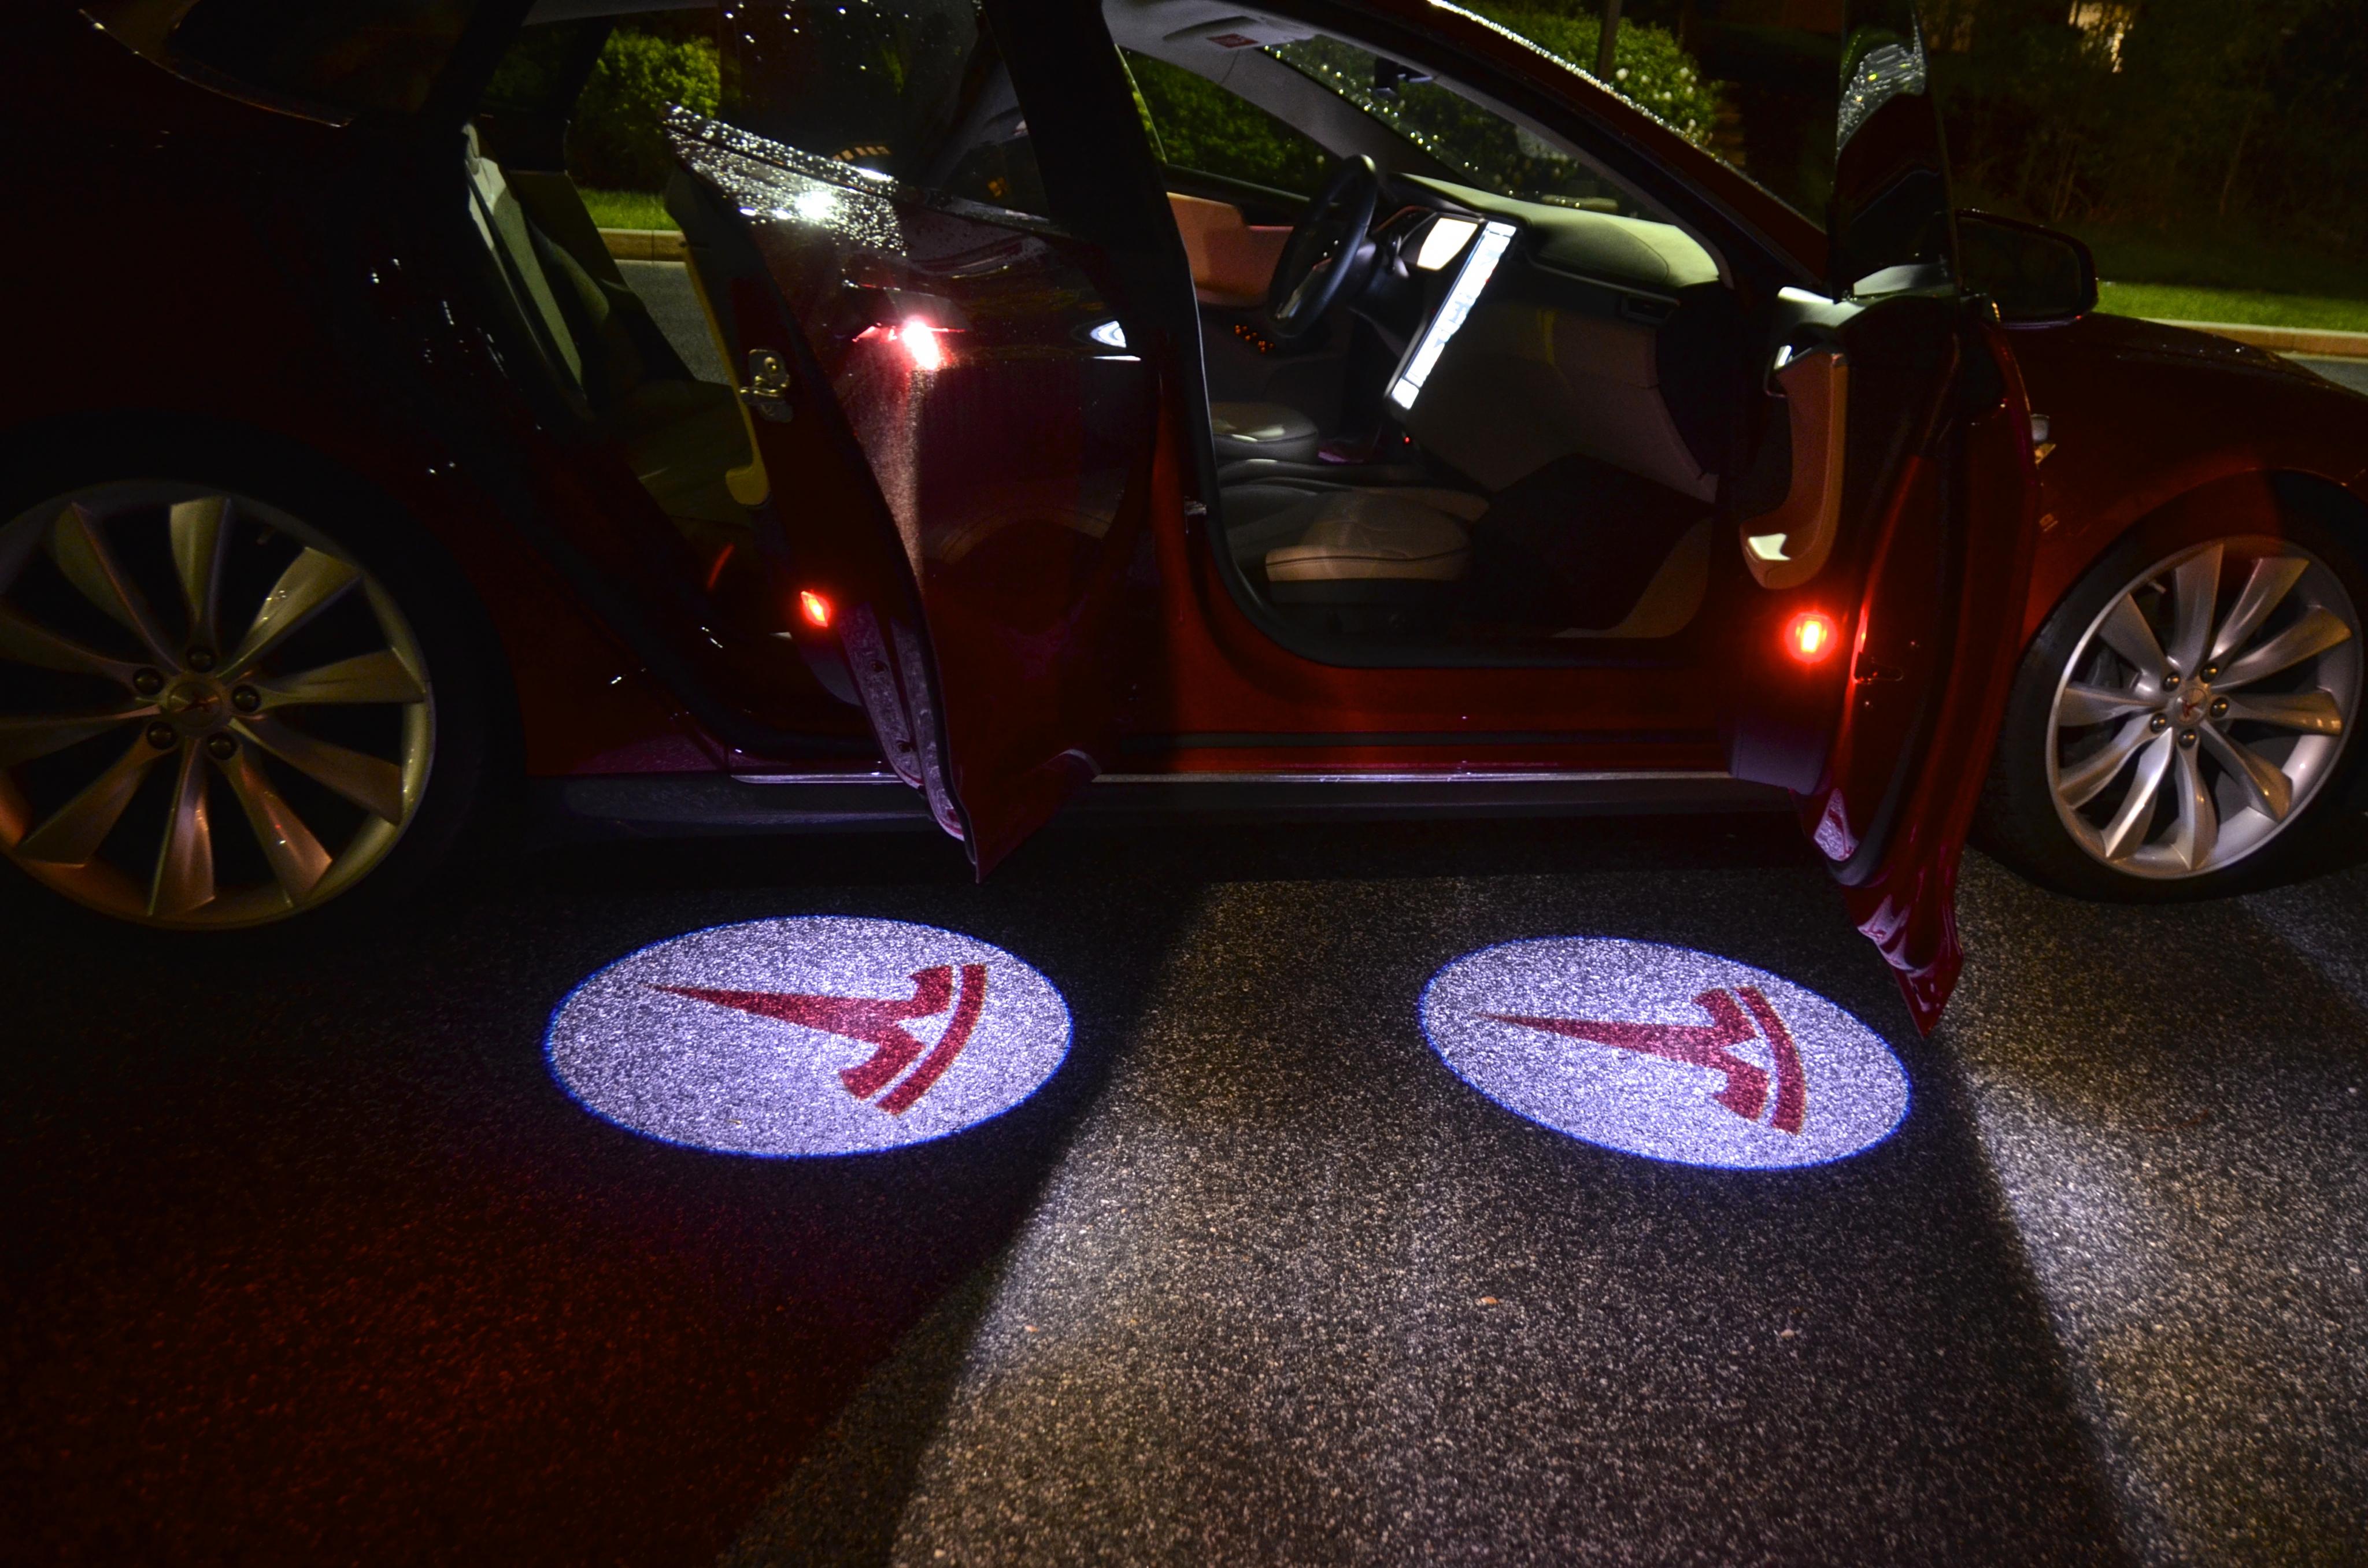
While waiting on Artsci to get the lighted nosecone finished (can't wait!), I thought I would try something a little smaller in scale and put a small LED projector light in the bottom of the door. Just tied into the existing power for door light so it only lights when other door lights come on. Mounted it using the existing hole in bottom of door. Seems to work ok, even on the carpet in garage (garage was built for the car).
 �
�
Jun 30, 2013
Neech Nice! Is the Tesla emblem a light beam from the door or is it imprinted on the carpet?�
Jun 30, 2013
Liz G I like it!�
Jun 30, 2013
steve841 That's wild!�
Jun 30, 2013
brianman I bid $20!�
Jun 30, 2013
Denarius That. Is. Awesome!
Please post details on how you did it!�
Jun 30, 2013
jpasqua OK, that's cool. Nice job.�
Jun 30, 2013
Lloyd I want several!�
Jun 30, 2013
xhawk101 Want�
Jun 30, 2013
Jason light from door - various people sell them on Ebay...�
Jun 30, 2013
SteveW25561 This is pretty cool. Did you custom print the tesla logo insert or where did you get this?
Any installation walkthrough or pictures?
Thanks for sharing this.�
Jun 30, 2013
JerryNycom How difficult is this? Would also be cool in trunk and frunk! Please post where to buy and how you did it. Thx....awesome work!�
Jun 30, 2013
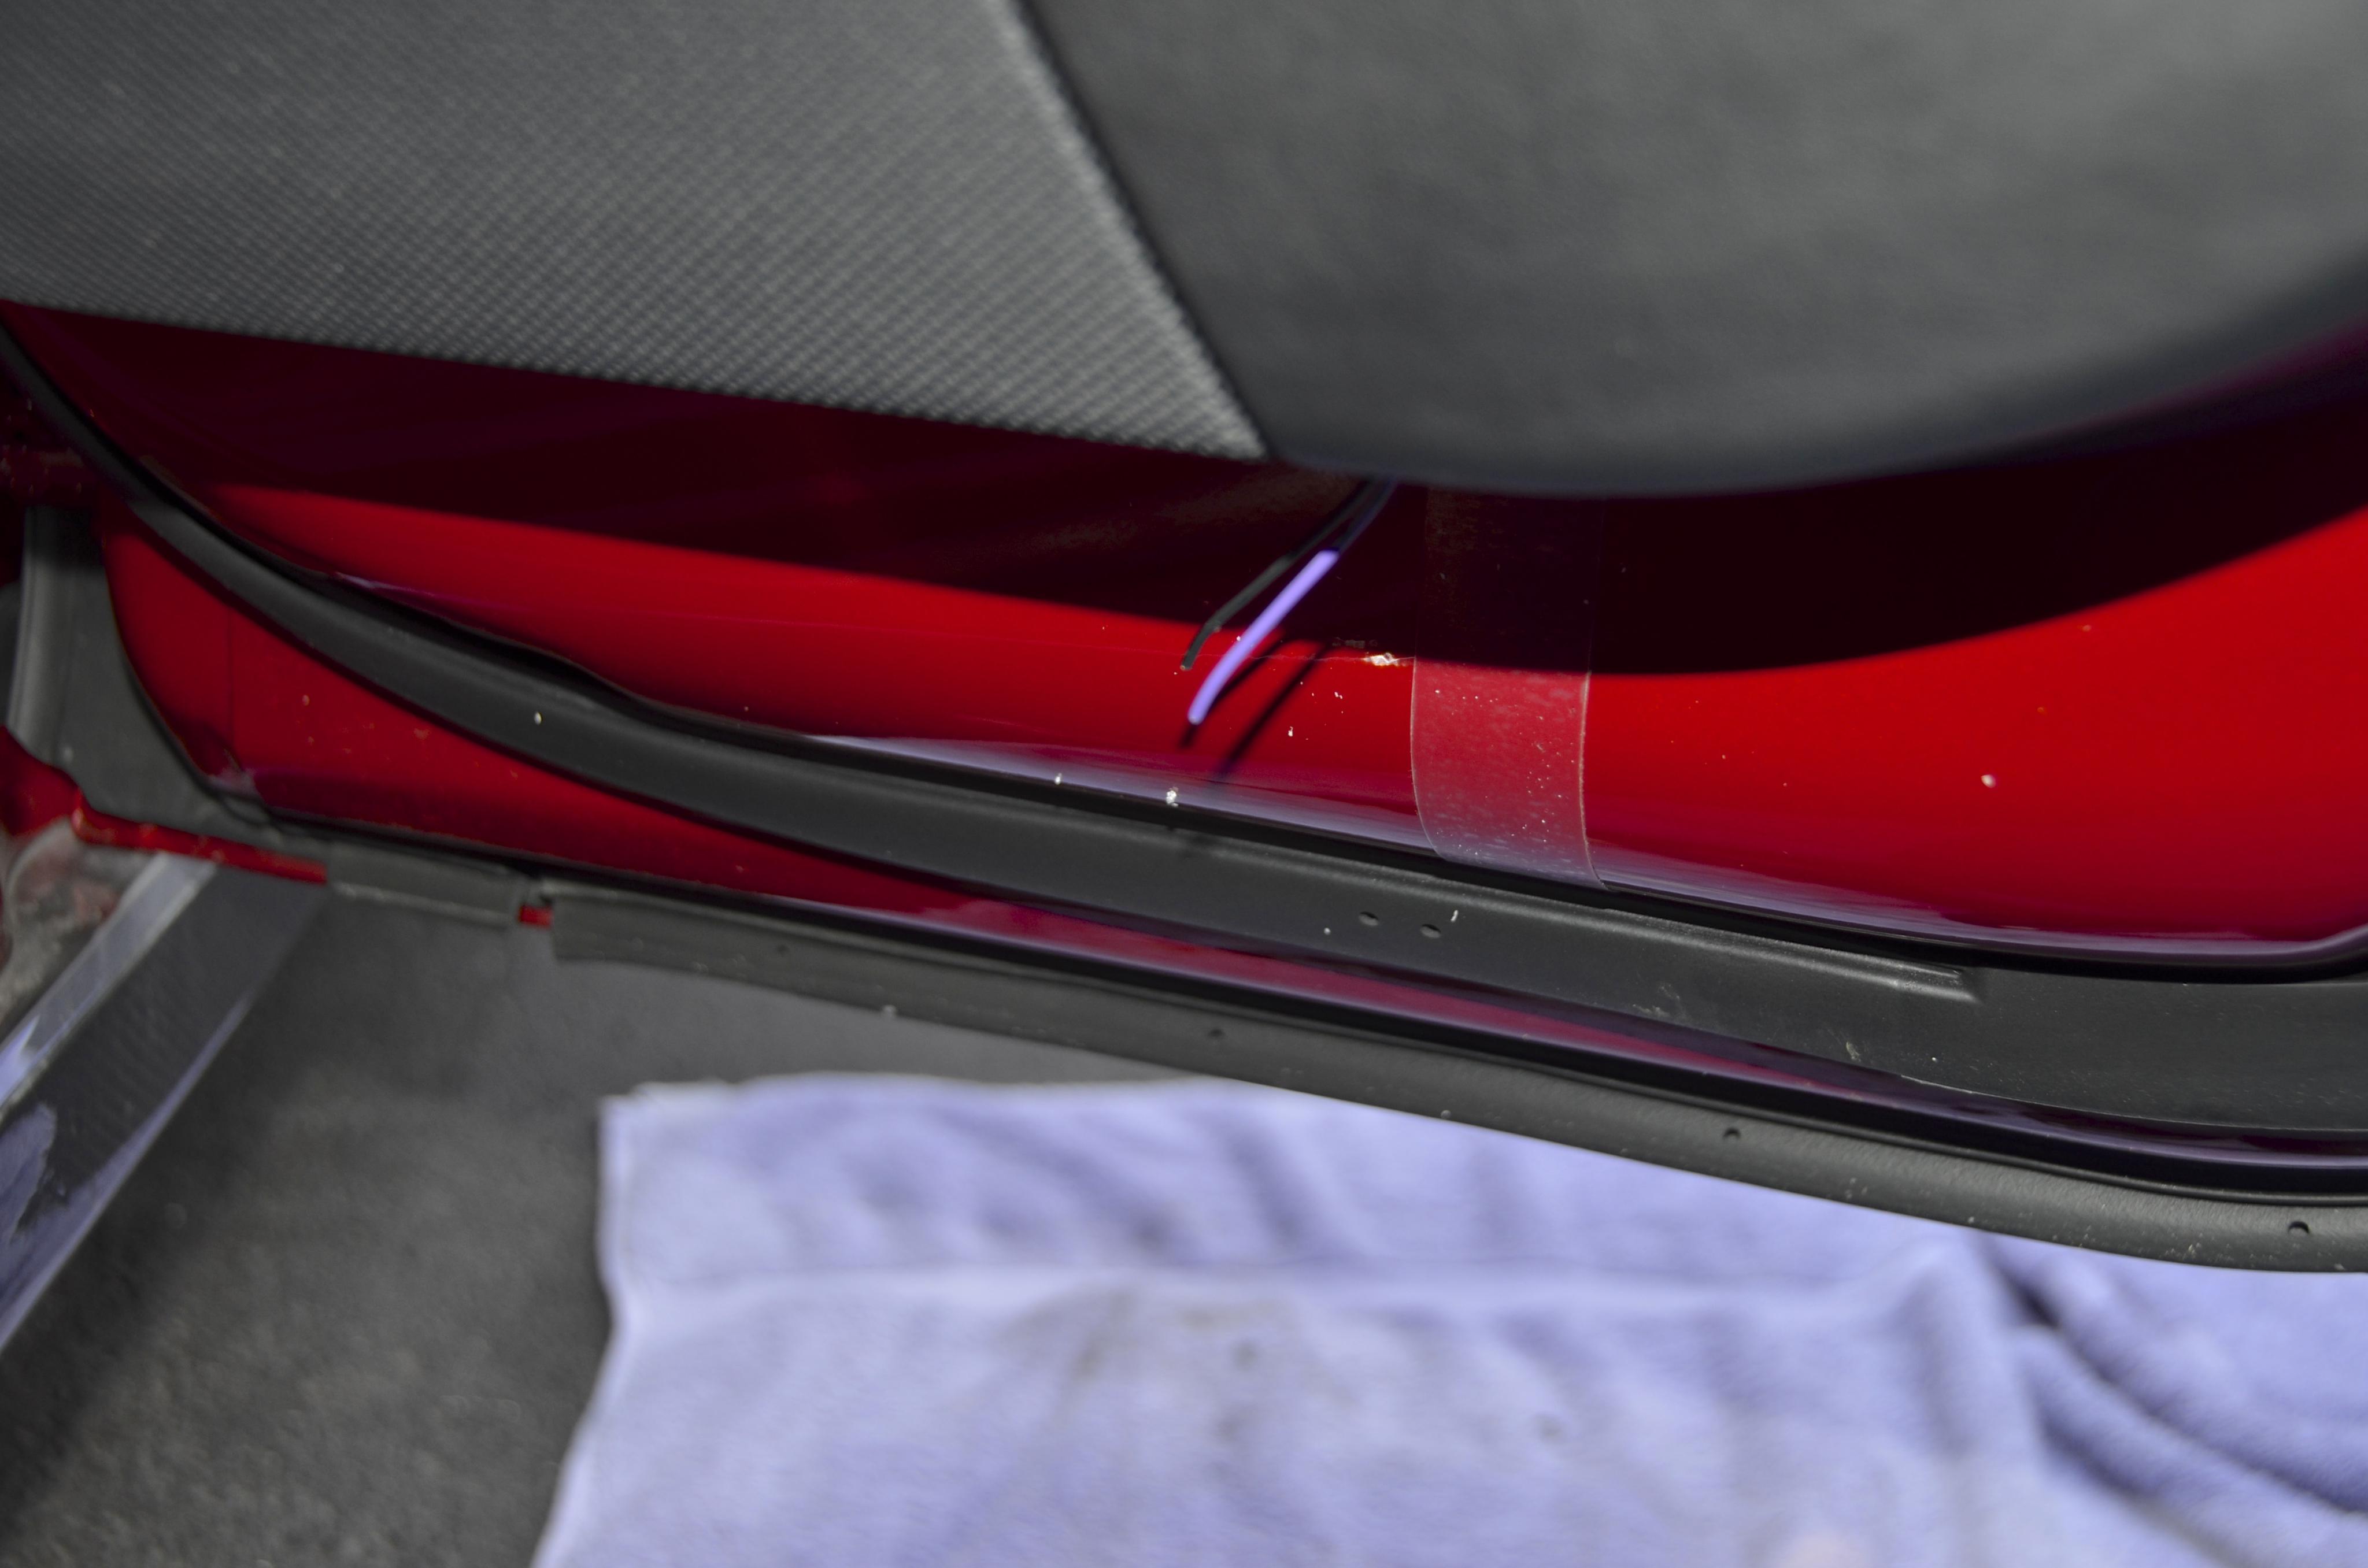
Jason I'm sure there are many ways to do this, and I am not in any way a professional. That said, here's how I did it:
First, buy mini LED Tesla projector- Ebay is a good start for that
When I bought it I was thinking I could hook up in garage to put on the wall...
Then looked at car to see where it could go - there is about 1" hole in bottom of door with black plug in it.
Dug in my parts bin (I have so much stuff...25+ years of collecting) found a thick clear hose, OD little bigger than hole in door, ID size of cylinder projector. Placed projector loose in hole and wired up to a 12v wall wort to see how it would look and to figure angle.
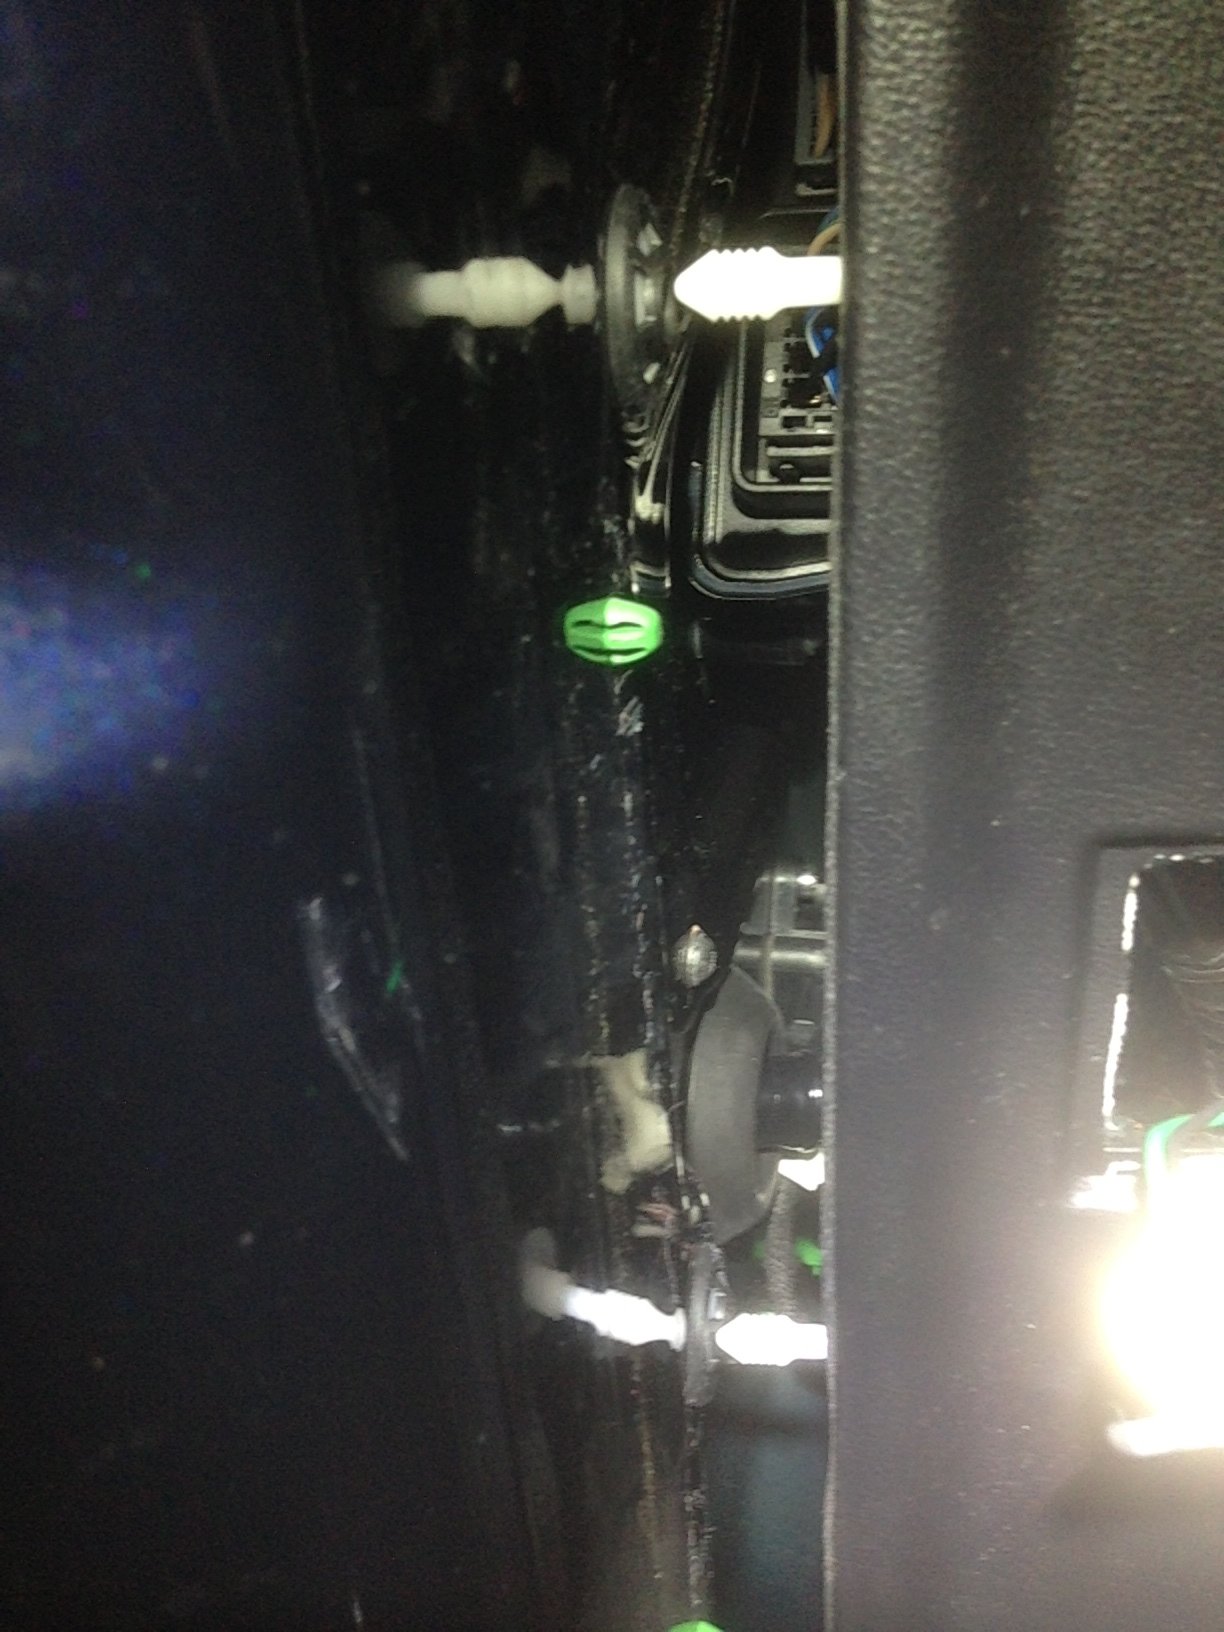
Pried lower door panel up - I'm sure there is a tool for it. I used plastic spatula, tape covered screwdrivers, it is hard to do and makes some noise when they loosen up, but looks designed to be removed and reinstalled. Looking up in there found a hole that goes from inside of door to outside - to run power wire through. It was occupied by green clip that holds door wires on door. I pushed clip out of way, there were more clips holding the door wires so I didn't worry about 1 clip.
Figured now I have place to get power so went back to projector. Carved out ridge in hose at angle needed, put on projector and little dawn soap on outside of hose to get it into hole, (and ran wire through hole that I removed clip from) - took lot of convincing but figured the harder to get it in, would't have to worry about it ever working it's way back out. Hooked wire back up to 12v wall wort to make sure I had it correct (didn't - it was upside down).
Then pried out the white ground light housing in the door panel, removed it's plug-in connector and took apart, soldered the wires on the existing ones, and put them back into the connector (use wire taps, I didn't have any handy at the time) and pushed light housing back into door panel. Pushed the door panel back on, after checking that the panel snaps were all in line, they are long and you will have to check that they go back into their sockets. Will take some firm push at each panel snap.
Then enjoy!
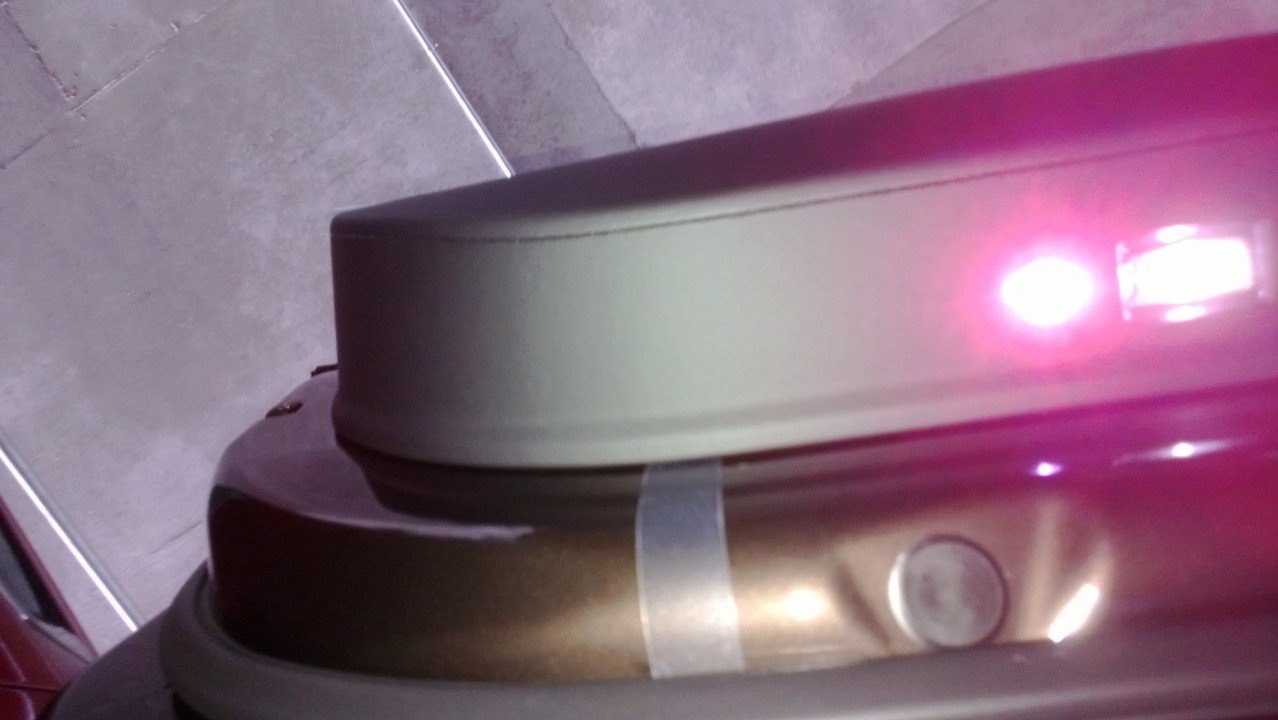
(Pic is from underneath looking up, you can see white panel snaps, green wire clip, glare from the ground light housing)
 �
�
Jun 30, 2013
markb1 This is the part that doesn't quite make sense. What exactly are you using as a projector, and how did you get it to project a Tesla logo?�
Jun 30, 2013
TurboFroggy Here is the exact link to the projectors with the Tesla logo already in them on Ebay: http://www.ebay.com/itm/Tesla-Motors-Door-Welcome-Light-LED-Projector-Shadow-Light-Laser-Logo-Light-1318-/261196434186�
Jun 30, 2013
pete8314 Looks like this is the widget needed....very cool...I saw something similar on the newer Range Rovers, but this looks better.
@Jason...do you have an 'after' picture of the installed projector light?�
Jun 30, 2013
Baiao "Garage was built for car".. Climate controlled? Very Nice!�
Jun 30, 2013
Lloyd So how come the Mercedes is 16.99, and the Tesla is 24.99 per piece. Seems like an opportunistic gouge!�
Jul 1, 2013
Jason Not climate controlled...yet - was enough work and expense to just get it built
- - - Updated - - -
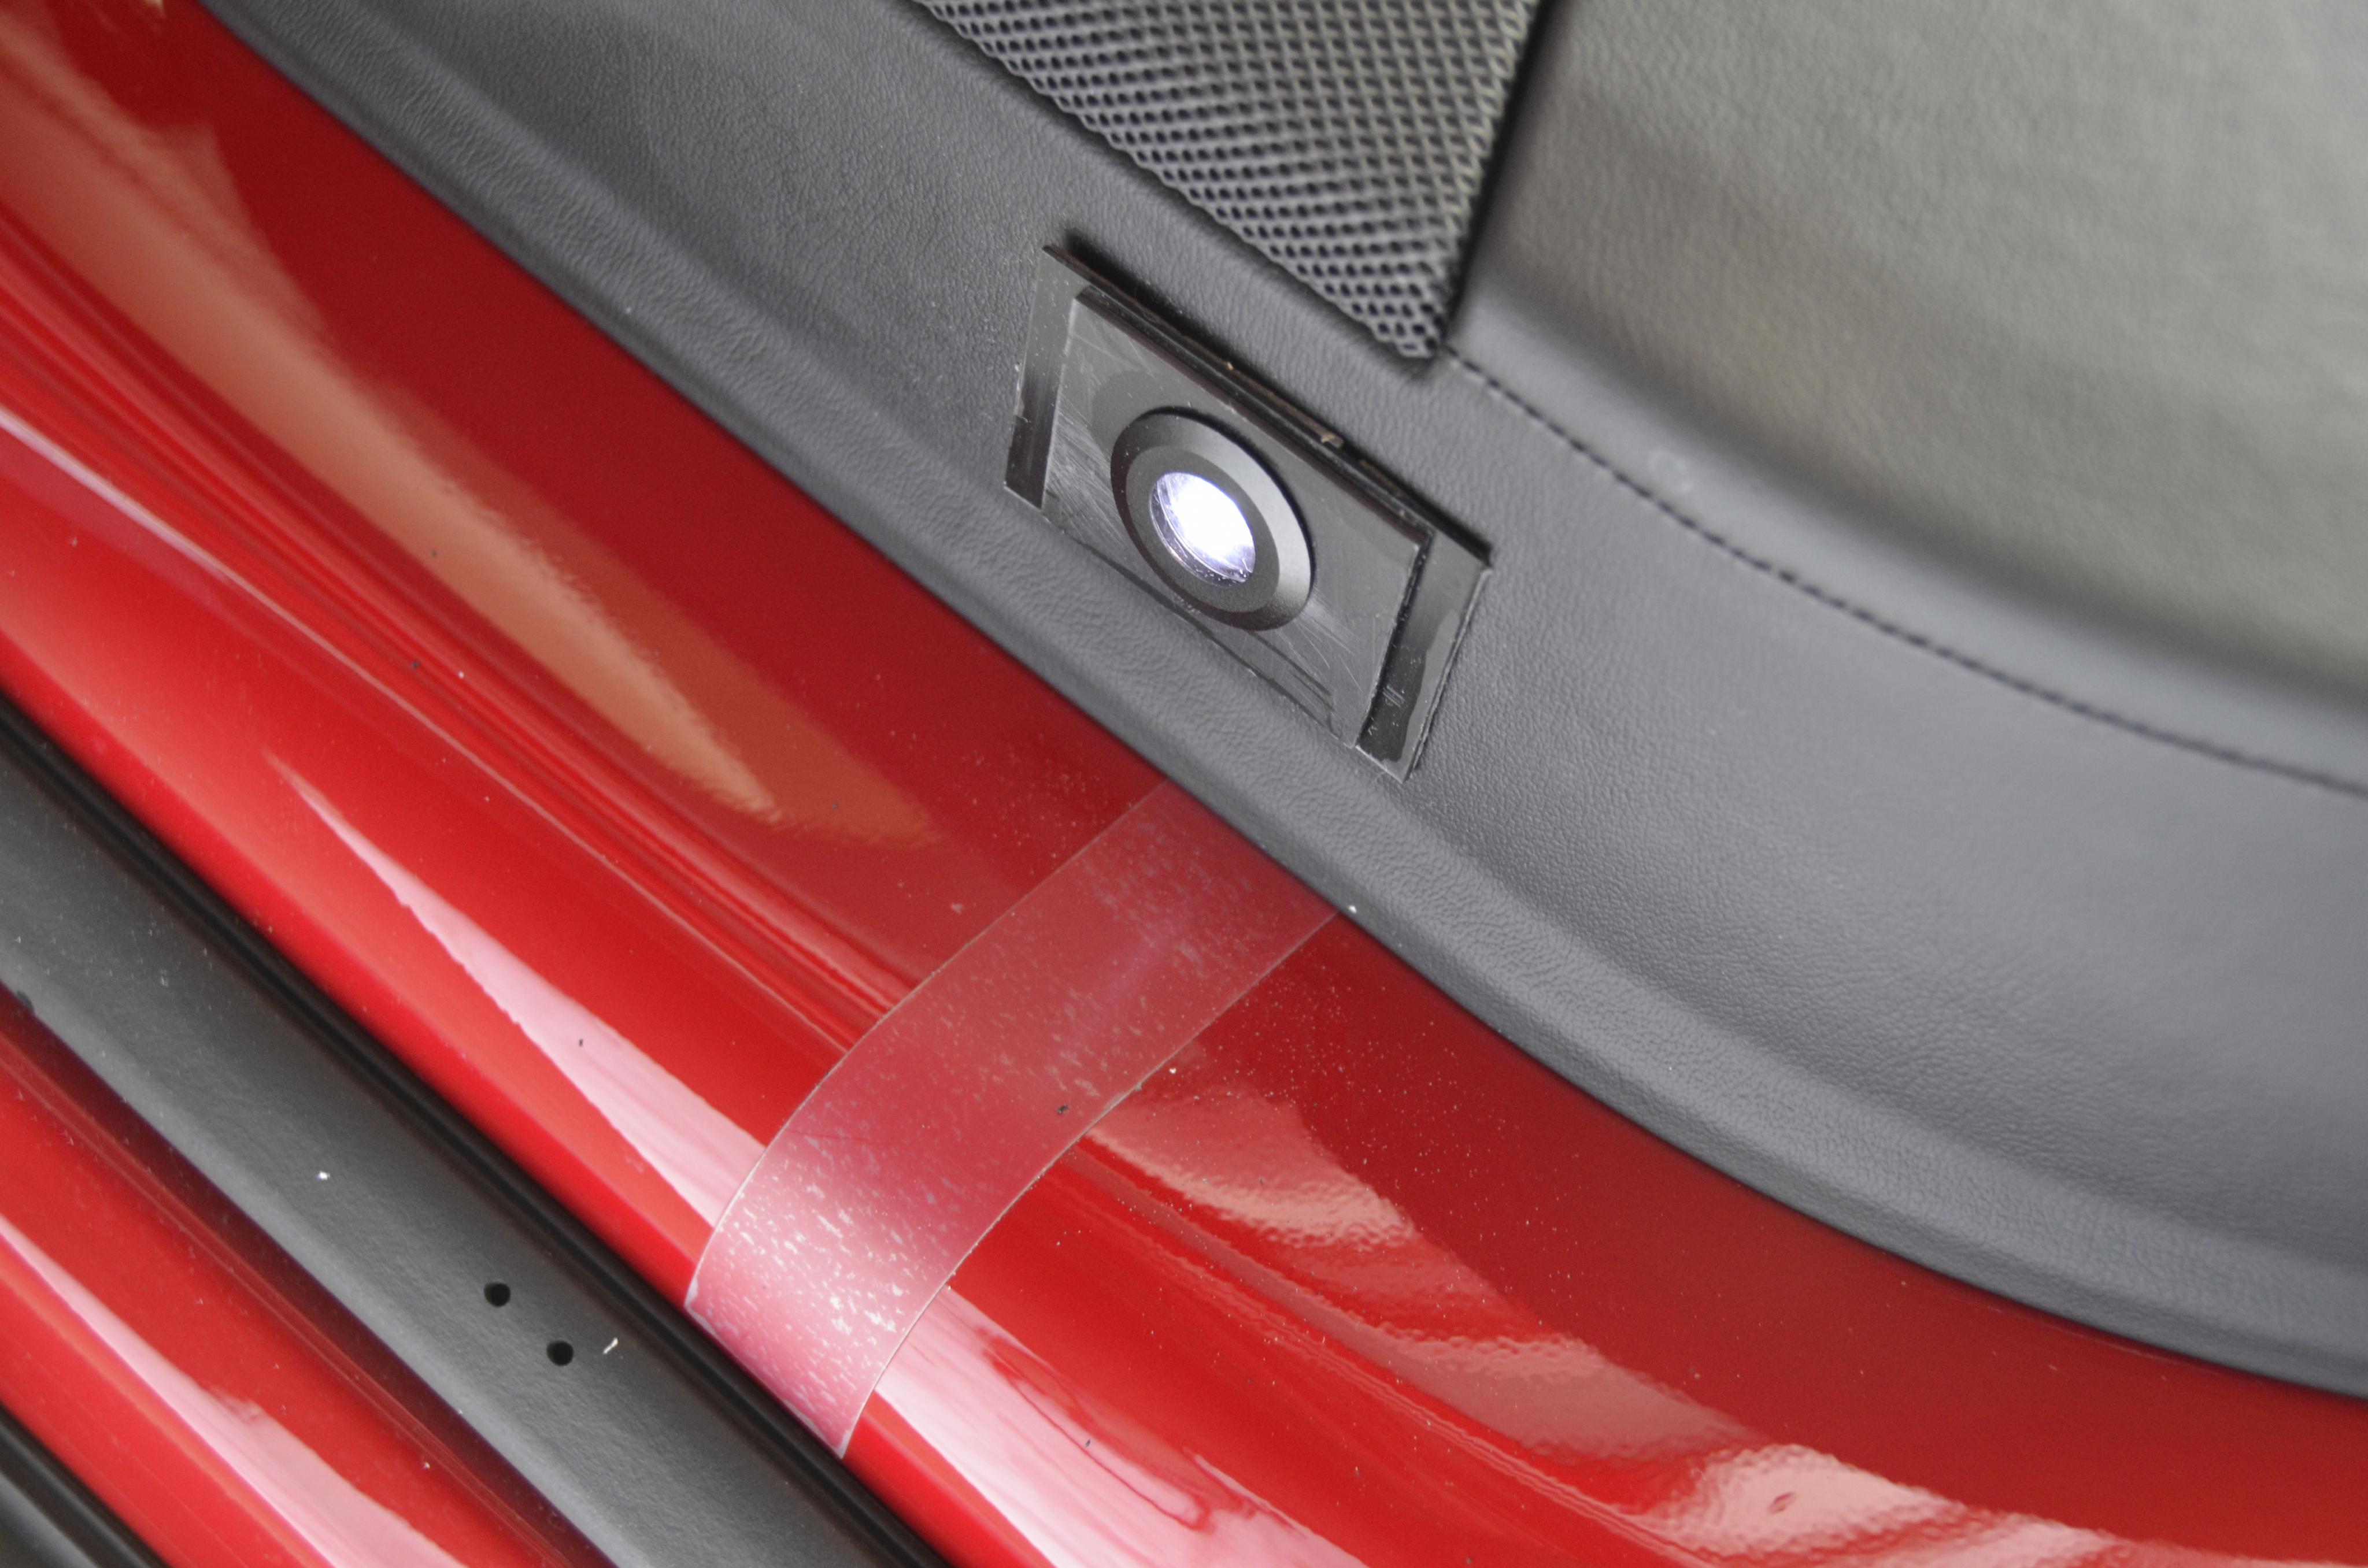
Here's after - hard to get a good pic...
 �
�
Jul 10, 2013
Jello I just installed these on my doors too! Very easily reversable (and cheap!) if i end up not liking them. Thanks, OP!
[video=vimeo;70091852]https://vimeo.com/70091852[/video]
https://vimeo.com/70091852�
Jul 11, 2013
AmpedRealtor Bizarre�
Jul 11, 2013
xhawk101 Sweeeet!�
Jul 11, 2013
Babylonfive Just ordered - wonderful.
Did you try to disassemble to see if the 'film' insert is changeable?
David�
Jul 12, 2013
Jason I did't take it apart - afraid I would break it�
Jul 15, 2013
SteveW25561 Here are pictures. I took mine apart.
The logo is easy to replace if needed but the challenge is sourcing a transparency of high enough resolution & quality at this size and shape.
Note they made the logo a bit bulged so then it's projected it's flat looking. There are several lenses (plastic of course at this price) in the barrel. This was overall better quality than I expected.
I'm just waiting on a car to install this!�
Jul 22, 2013
Discoducky Really thinking about getting these. Anyone else install? I'm wondering how hard it is to get the door panel off and tap into 12V.�
Jul 22, 2013
Mr X too cool�
Jul 23, 2013
pete8314 I have a set at home now (took about 2 weeks to deliver), just haven't found the time to fiddle with them yet. When I do I'll take lots of photos.�
Jul 23, 2013
xhawk101 Got 4 may only use 2....anyone in market for a pair?�
Jul 23, 2013
Leland I installed these lights last night. I completed the drivers side door in about 45 minutes. The passenger side took about 15 minutes. I highly recommend completely removing the door panels. BEFORE you start tugging on the panel, remove the 9mm bolt below the rubber pad in the area where you pull the door closed from the inside. There are also two T30 fasteners that need to be removed behind the plastic piece behind the inside door lever. After removing the fasteners you can gently pry the door panel away from the door. I used wire taps to tie into the two wires that connect to the white LED at the bottom of the door panel. The black wire on both doors was negative. Green was positive on the drivers side and I think pink was positive on the passenger side.
Used the supplied hole saw to drill out OEM door plugs
Light is slightly skewed. Not sure it's bad enough to make adjustments.�
![[?IMG]](http://imageshack.us/photo/my-images/534/3ar6.jpg/)
![[?IMG]](http://imageshack.us/photo/my-images/694/2m7s.jpg/)
Jul 23, 2013
The Fury cool!�
Jul 27, 2013
jayfrost Nice....Order a few sets to play around with. Thinking a Trunk and a Frunk would be a lot of fun!�
Jul 28, 2013
rekoh looking forward to seeing it!!�
Jul 28, 2013
vfx
On Amazon the prices are all over the place. Some car brands as low as $10.00.�
Aug 4, 2013
rekoh any updates on the install ??�
Aug 4, 2013
pete8314 Not from me, still on my to-do list...:frown:�
Aug 7, 2013
rekoh I just got mine in the mail today -- I hooked them up to an outlet with a 12v power adapter to see how they looked, and I have to say: they are pretty damn cool looking. I wasnt sure what I was going to do with them.... if they looked too cheesy, I thought frunk/trunk might be the way to go...if they looked cool, then do the door. Think I am going to do the door, especially since there is a drain plug and it all appears fairly straight forward in terms of install.
I do hope someone else posts step by step instructions while I am wait for me pry tools to come in the mail in the next day or so and decide to tackle it on my own. Anyone have instructions on how to remove the door panel??�
Aug 23, 2013
Teriyaki88 LED Welcome Light Mod
This was posted by one of the service techs in SD Tesla Group in Facebook.
What do you think?
 �
�
Aug 23, 2013
4sevens.com �
Aug 23, 2013
spleen Wow, that is freaking awesome.�
Aug 23, 2013
markb1 There's another thread on this:
Ground light on bottom of door
Edit: Not anymore. Threads merged.�
Aug 23, 2013
Teriyaki88 Oops. Didn't see that.
Thanks!
�
Aug 24, 2013
Electric1
I am told, with no official confirmation, that there are pressure sensors in the door for the airbags and I don't know, but wouldn't be surprised if using the drain plug might screw up the sensors. I would drill a separate hole, I think.�
Aug 24, 2013
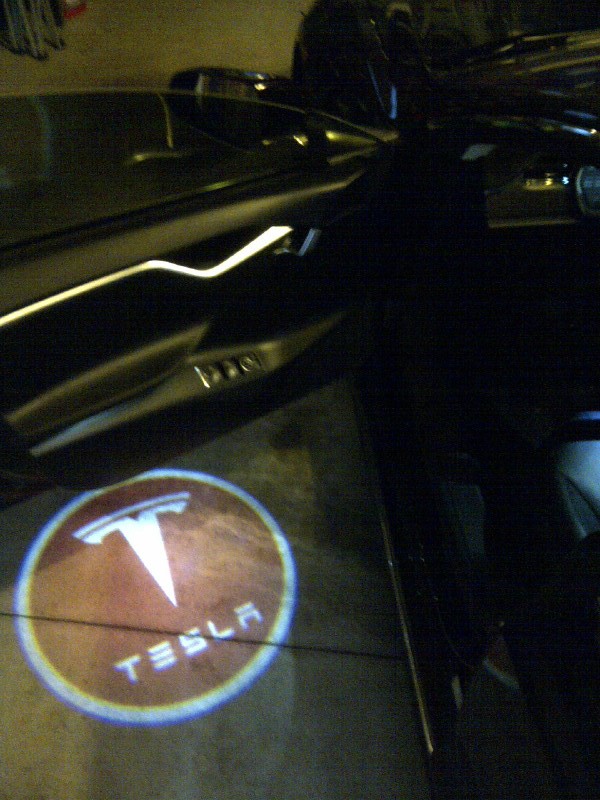
logan Was just in the SD service center yesterday getting my cracked sunroof replaced (damaged in shipment). Pretty sure this is my car, unless there is another one in SD with those lights and Vossen wheels.�
Aug 24, 2013
rekoh Would love acouple more pictures... how did you do it?? Drain plug hole, or did you drill into the door plastic? Did you disconnect the other light and just tap in to the power source? DETAILS PLEASE !!!!!!!�
Aug 24, 2013
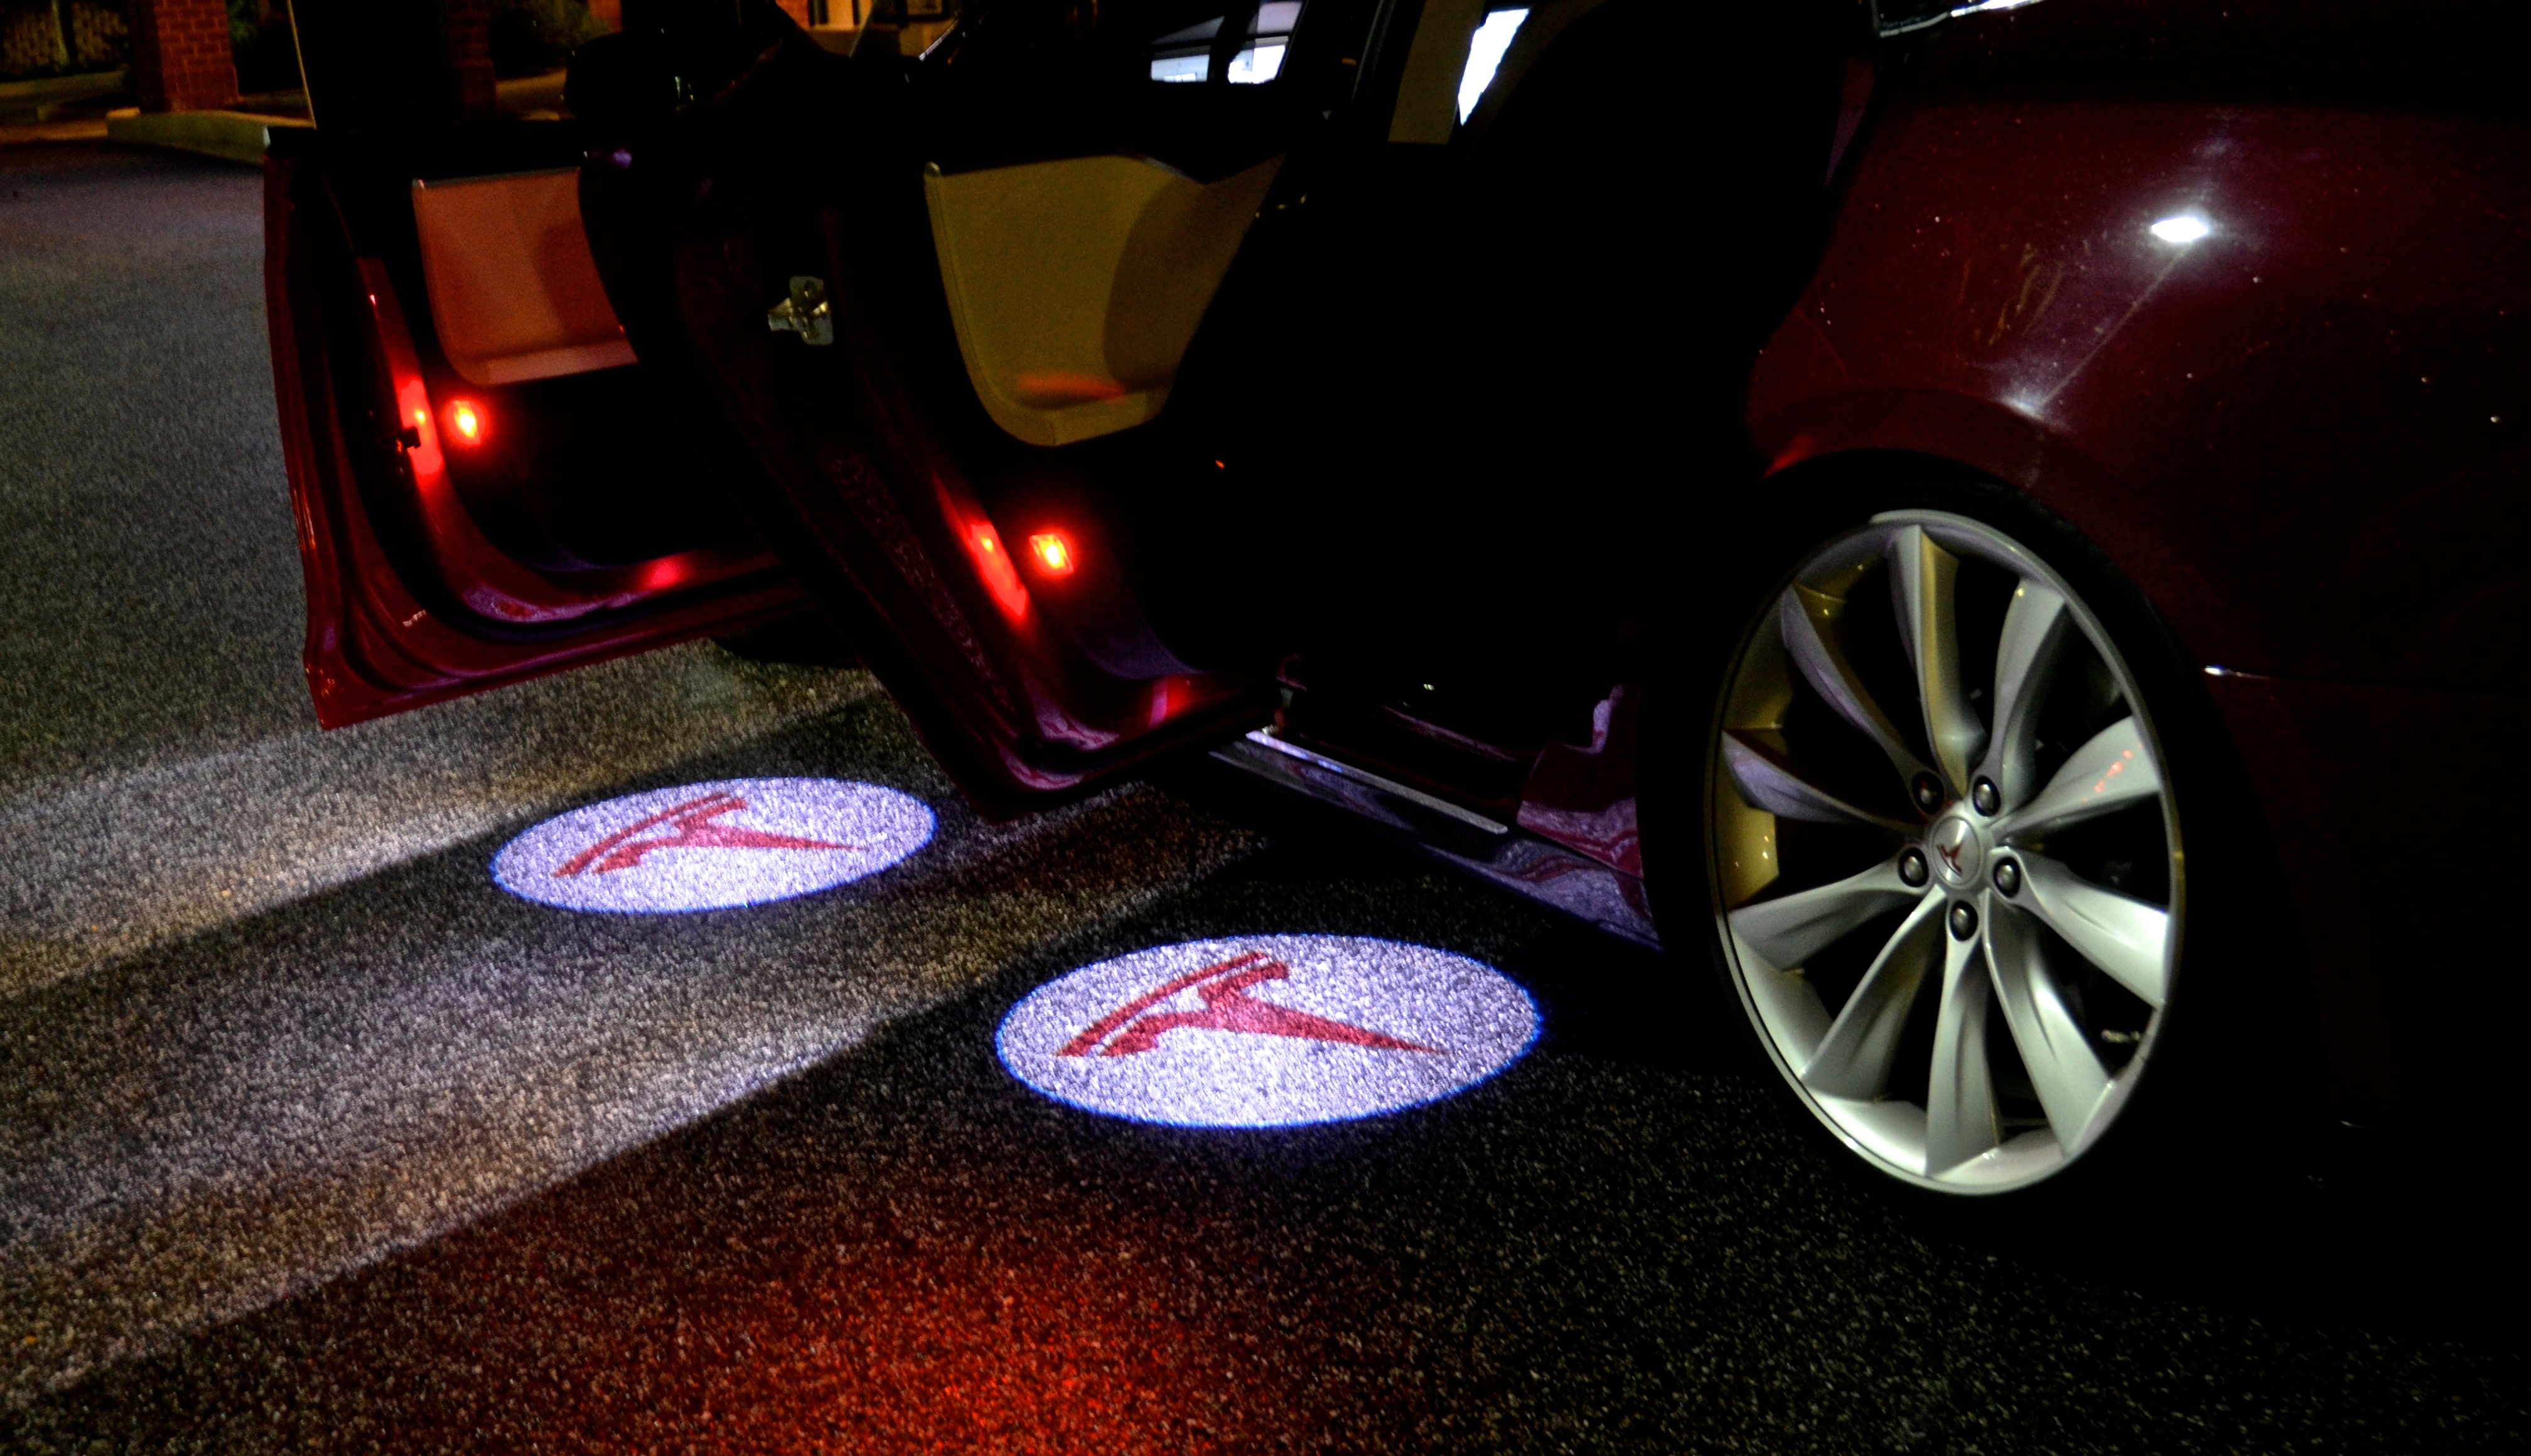
gnelson Drill another hole so the projector will be perpendicular to the ground. The drain hole is on an angle, and the projection will be oval if the projector is not perpendicular to the ground. The drain hole is also slightly larger than the projector.
 �
�
Aug 24, 2013
rekoh Can you take a photo from underneath? Am looking for the placement of where you drilled. THANK YOU!! I am going to do this tonight or tomorrow! (For other - I will take lots of photos too!!)�
Aug 24, 2013
gnelson I will try to now.
- - - Updated - - -
I didn't do the installation. I took my car to Texas stereo because they had the best reviews. I figured they would have the best experience removing door panels. I wanted to use the hole with the plug. They talked me out of it because they felt the projection would be better from the location where they drilled the hole. It took them 3 hours for the installation. The technician was meticulous and had significant knowledge about Teslas.�
Aug 24, 2013
logan
Here is another picture that I posted in my build thread:
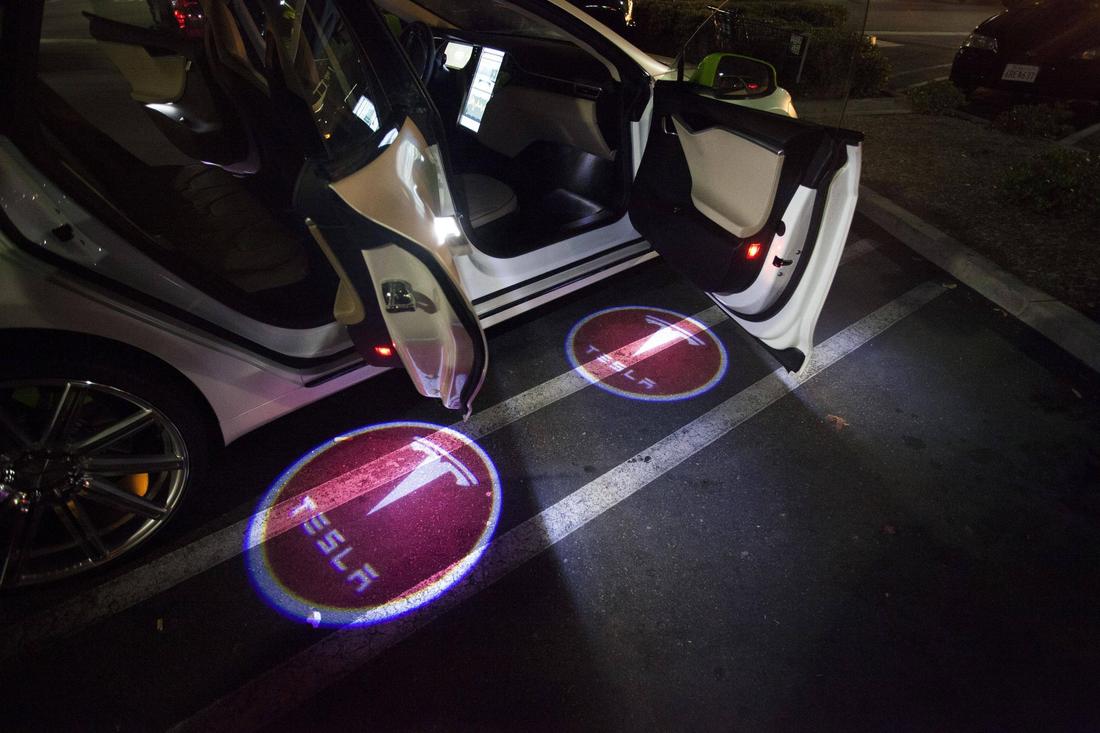
They removed the light that was already in the bottom of the door and replaced it with these. To my knowledge they tapped into that power. The lights point straight down (not at an angle) but I'm not sure if they modified the opening or anything. They have been quite a hit with everyone who rides in the car.�
Aug 24, 2013
rekoh Thankyou for postingso quickly!! I was thinking to put it close to there... maybe a bit further away fromthe light. I am also thinking of disconnecting the light because the white light may washout some of the richness of the red logo. Pretty simple install, and I am hoping to not have to fill take off the door panel. Speaking of which... ANYONE KNOW HOW TO REMOVE THE DOOR PANEL ??
- - - Updated - - -
LOGAN -- would love to see your photo from underneath...did they put them in where the light was or next to it??�
Aug 24, 2013
logan
Unfortunately, I just dropped it back off at the shop so they could finish the car (powder coating wheels / wiring blind spot sensors) so I can't take a picture of it, but I will ask if they can. They removed the light that was already on the bottom of the door and placed the new puddle lights in the same location. They removed the stock lights for the same concern you have (washing out the logo).�
Aug 24, 2013
gnelson I read some earlier posts about the light at the bottom of the door potentially washing out the projection. I just experimented with mine. I covered it with black electrician's tape. I could not discern any difference in the projection. I think my projection would look better if it was projecting onto back asphalt rather than light grey concrete.�
Aug 24, 2013
rekoh Install complete.. Total time: 1hr 20 minutes. A few things I have learned doing this that you will want to know:
1) the puddle lights go off after a certain amount of time (30 minutes I think) and dont come back on until the door is reclosed and opened... the other doors all work, so they are independent of each other. I thought I short circuited something!! If you are going to do this. Close and reopen the door right before you start to maximize the time the lights are on so you can angle you projector logo without having to re-assemble and then dissasseble the door just to get the power back.
2) this brings me to # 2. The white clips. Make sure they are lined up perfectly. I thought they were, and then pounded the door, and broke a few.
3) solder the connections. it is just a smart thing to do.
here are 2 pics -- 1 is looking up at the door from the floor. you can see where I put the hole, and I noticed that there is a clip that is not connected to anything in there.. No idea what that is for... Blind spot detection? Camera mirrors? who knows. Hard to see in the picture -- it is the white one off to the left of the photo.
Many are discussing the white light.. it does wash it out a bit.. not sure if I am going to disconnect it or not.. right now it is still 'on'.
THANK YOU EVERYONE FOR POSTING AND YOUR HELP!!!!
 �
�
Aug 28, 2013
pete8314 If anybody wants to buy a set, but doesn't want to wait for the shipping from China, I have 1 set for sale after my wife declared them as tacky (from the photos on this thread, the box mine came in is still very much sealed).
PM if you're interested, I'll sell them for the price I paid - $26.99, with free shipping to the US.�
Aug 28, 2013
brianman Heh. Not surprised.�
Sep 6, 2013
gbdesai Anyone know if you need the lighting package in the new order options list to get the standard door downlights? I just finalized and am worried that there are no lights without the package (which I didn't order). I suppose if there are any lights on the door at all I would be ok. Thanks for any insight...�
Sep 6, 2013
ggr The downlights are in the pop-out handles, and as far as I know every car has them.�
Sep 6, 2013
gbdesai I apologize I wasn't clear. I saw pictures in the above posts that show lights at the bottom frame of the door that some people replaced with the Tesla projector light. Do all cars have that light? Or only the ones with then lighting package.
Regardless I'm sure there is door activated power in the door somewhere to tap into...�
Sep 6, 2013
lloyds wow, that looks quite nice!�
Feb 22, 2014
highedu Anybody know of a good place that has installed these before in the Bay Area?�
Feb 22, 2014
jpasqua I'm interested too. I thought I'd do it myself but I never seem to have the time.�
Feb 23, 2014
ABVA Here is the link with detail installation instructions, including pictures:
Projector Logo Lights | TeslaTap
hope it helps DIYers.�
Feb 23, 2014
xhawk101 Same boat here and for lighted t! Need local florida installer ideas.�
Feb 23, 2014
ABVA We are going to have a "Lighted T installation workshop" on March 2, in Northern Virginia. We will record a video during the workshop and post it on TMC. Here is the link to Workshop thread:
Lighted T installation workshop in Northern Virginia March 2
hope it helps.�
Feb 23, 2014
highedu So no bay area shops?�
Apr 27, 2014
artsci I installed one puddle light today in the drivers side door. This is a custom version with the Tesla T in red on a white circle and no Tesla lettering. Here are a few photos. They're a bit blurry, as I didn't use a tripod.
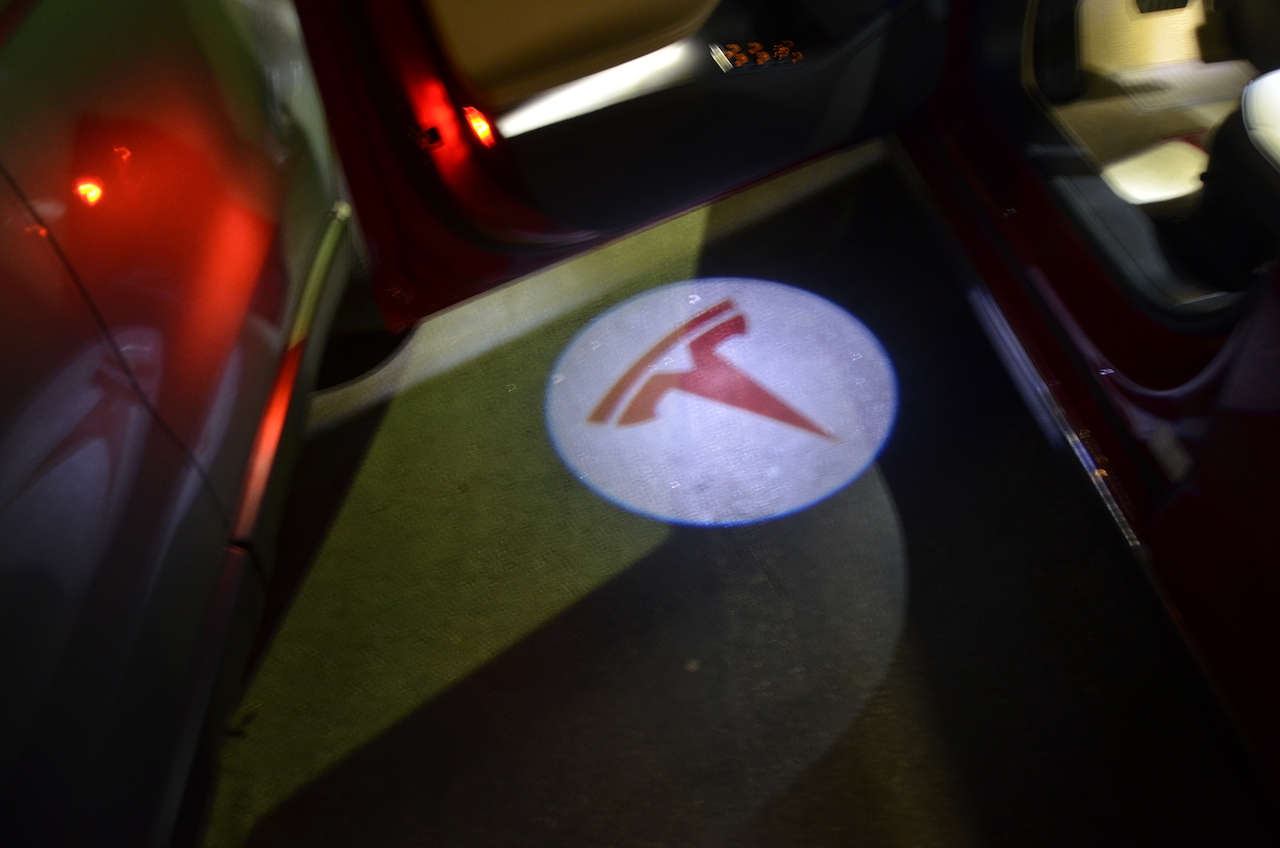
Removing the door panel was not difficult but removing the stock lamp and mounting the new projector was a PIA. I had to use a long screwdriver to hammer out the stock lamp. Re-atttaching the door panel is another story altogether. I broke a few of the white clips and now it doesn't lie flat. Fortunately my car goes in for one-year service tomorrow so I'll have Telsa Service replace the broken clips and remount the door panel.
The bad experience got me thinking if it was necessary to remove the door panel at all. It isn't. I've devised a way to remove the stock lamp and mount the new projector lamp without removing the door panel at all. I've got everything prepared and as soon as my car is back from service I'll give it a try and shoot some photos.�
Apr 28, 2014
albiefett Very cool looking lights Rick!
I also had Custom Puddle Lights installed recently (see below).
But I went with the solo BLUE LOGO...
I kinda like the Bat-Signal look!
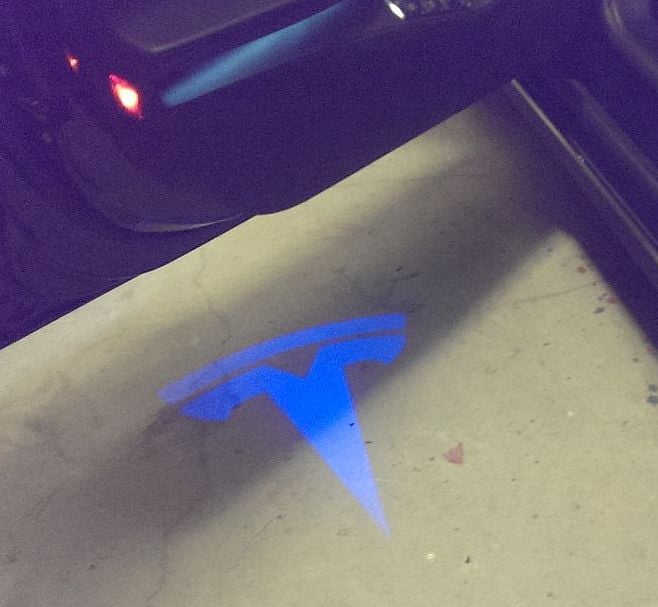

sorry pics aren't the best, as i didn't use a tripod either :wink:�
Apr 28, 2014
artsci Cool. Did you order these from opn20212? I wanted the T in red without the circle in white but they told me it couldn't be done.�
Apr 29, 2014
albiefett Yes, i did order through opn2012, after finding them on EBAY.
i asked about doing a BLUE with BLACK background, and they responded with the following:
Hi,we just have the green and red in our stock , If you want to get the bule one ,we can custom for you,extra cost [FONT=宋]30[/FONT] usd for custom, about [FONT=宋]20[/FONT] days to make.
28+[FONT=宋]30[/FONT]=[FONT=宋]58[/FONT] usd for one pair with CREE led
28x2+[FONT=宋]30[/FONT]=[FONT=宋]86[/FONT] usd for two pairs with CREE led
...
[FONT=宋] Tell us your quantity.[/FONT]
When confirm,inform us ur paypal to send invoice too.
[FONT=宋] The preview will be sent to you after we receive the payment.[/FONT]
--------------OPN2012--------------
------BUY4CAR.COM------
Email: [email�protected]
------------------ ???? ------------------
i ended up getting 4 in BLUE for $86, and it took about 3 weeks.
so im sure they could make custom lenses for you in red... ill ask them.
 �
�
Apr 29, 2014
artsci Actually I'm content with the red T on a white circle, but thanks for offering to contact them.�
May 2, 2014
artsci My method for installing the projector puddle lights without removing the door panels works like a charm and it's much easier to do than than door panel removal method, which is a PIA and risks damage to the cabling, mounting clips, and a whole other set of totally unnecessary risks. In my process the stock puddle lights are destroyed but I was not concerned because the replacement projector lights are so much better and brighter. This method also makes it very easy to change out the projector lights if something fails or if you want to change out the pattern or color or the orientation of the Tesla logo or other graphics. Removing the door panels is never necessary to install, repair, or modify the projector/puddle lamps.
Here are the steps and a few photos.
First, to make it easier to work on the underside of the doors, raise the car to the max height with the air suspension. If you don't have the air suspension you might want to raise the car with a jack and jack stands.
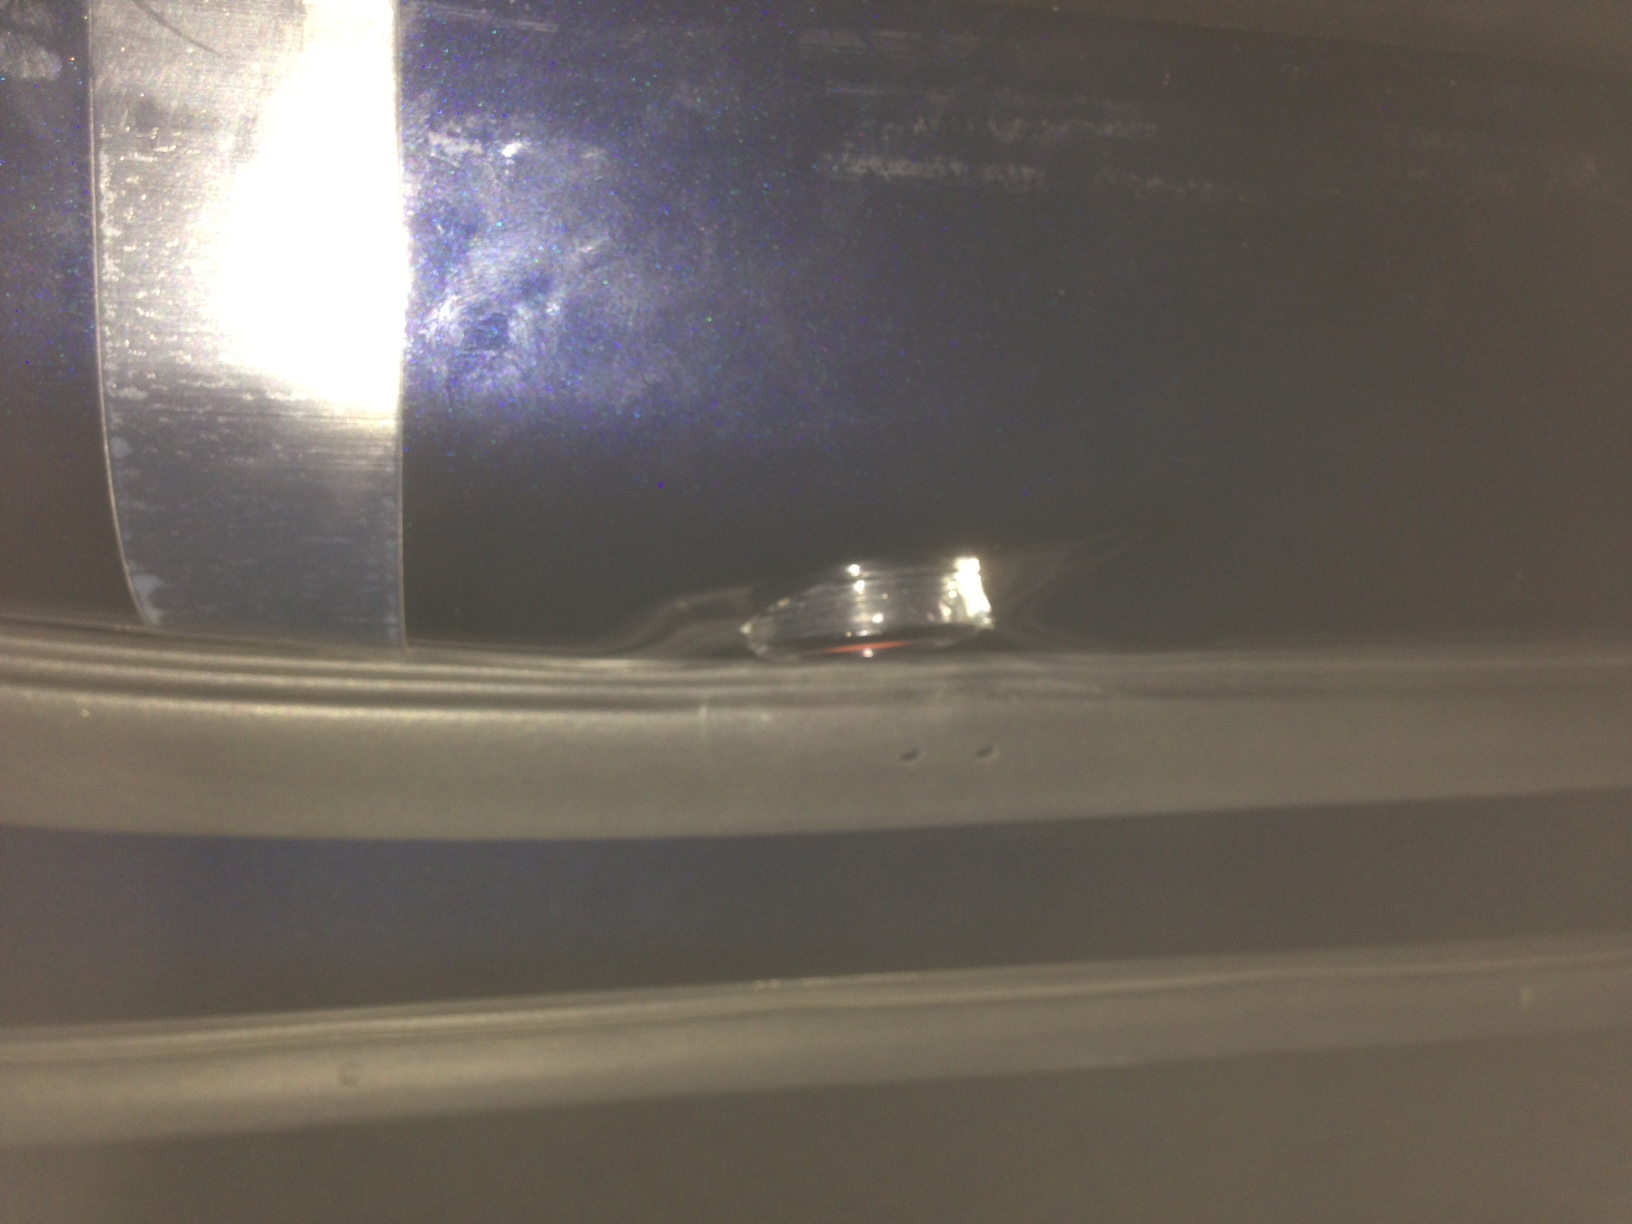
Next, using a 1/2 inch drill or forstner bit drill a hole in each of the stock lamps from under the door. Drill as close as possible to one of the edges on the long ends be careful not to drill into the door underside. Once the hole is drilled through the lamp cover the stock lamp will drop out or it can be easily pulled out.
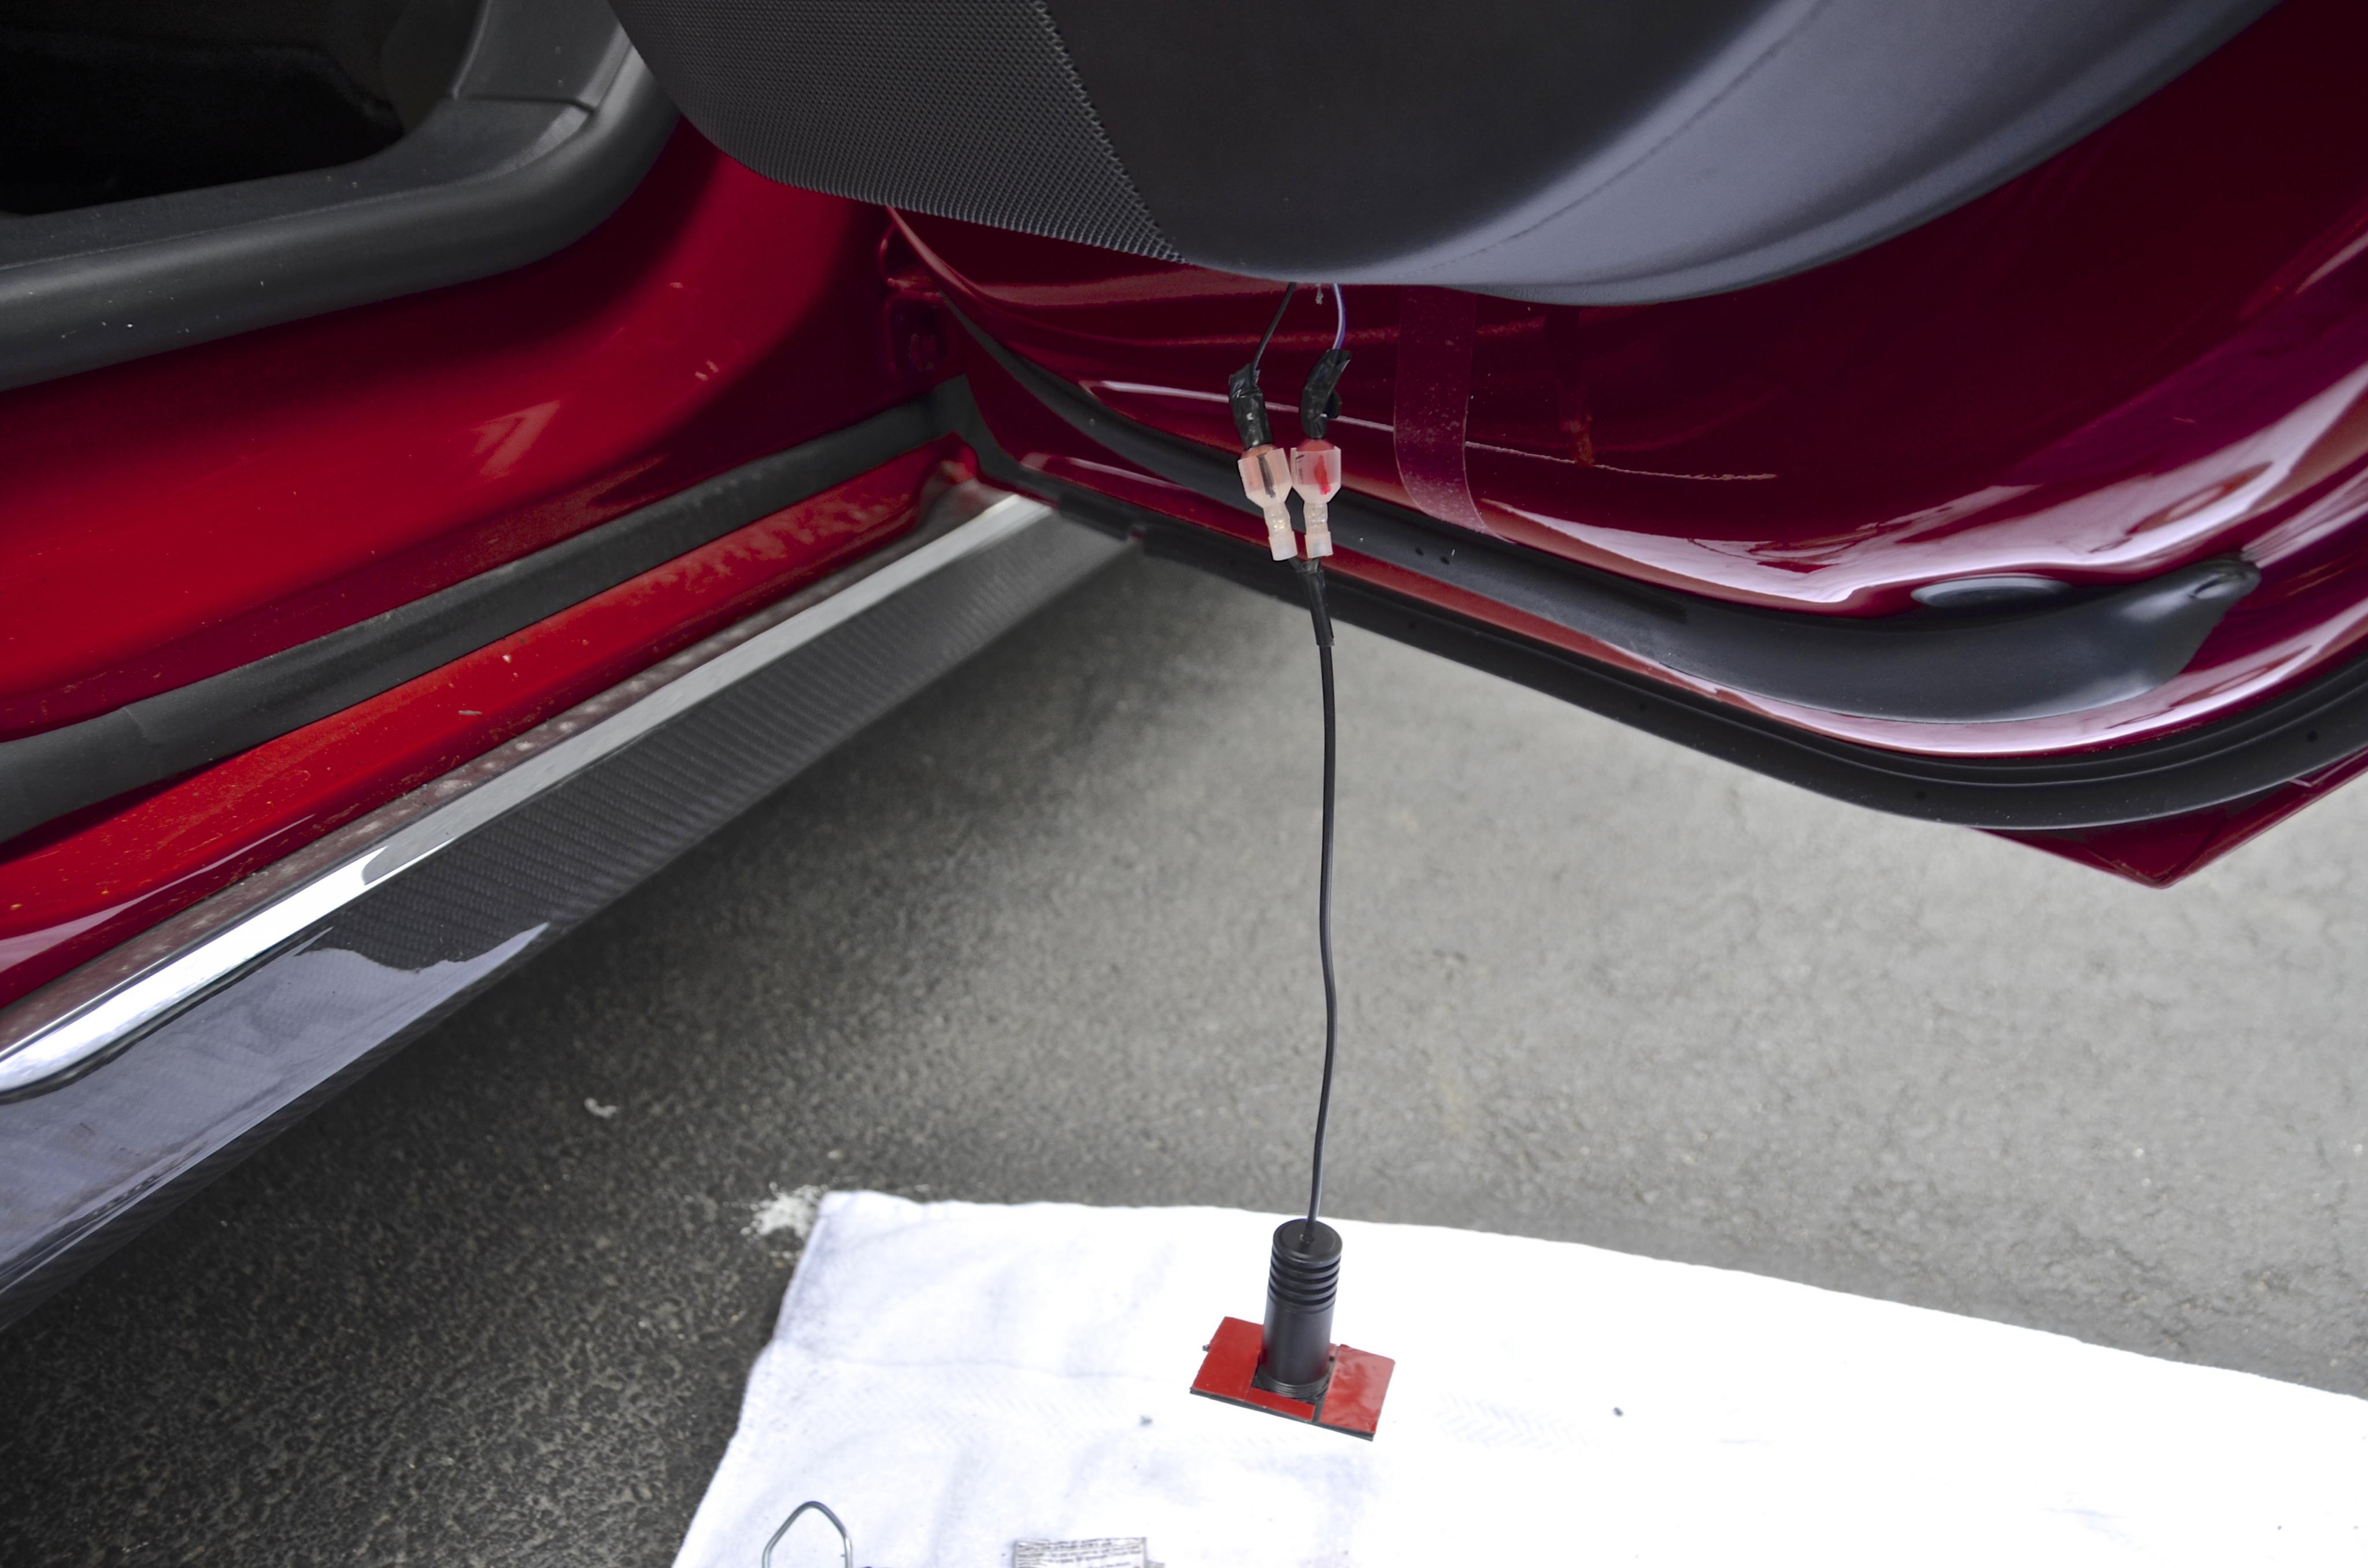
Pull the lamp out as far as the connector wires permit. You'll have 3-4 inches of wire to work with. You'll see the clip connector as show in the photo. Cut the two connecting wires as close to the connector as possible, strip about 1/4 of the insulation of each end, and crimp on a female spade connector.
To prepare the projector lamps cut four 1.5" x 2.5" pieces from black 1/16" styrene plastic and drill a 7/8" hole in the dead center of each piece. Remove the threaded nut from the projector lamps and slip a plastic piece over each one. You may have to file the holes a bit to get a good fit but make sure they fit tightly. Then cut the projector lamp cable to about 4", cut a slit in the cable cover, and separate the red and black wires. Then strip 1/4' insulation for each wire and crimp on a male spade connector.
Next using a Dremel or other rotary tool grind the space in the center of the opening for the lamp that was exposed when you removed the stock lamp. You want this to a hole to be about 7/8' wide. The projector lamp should fit in the space tight enough to hold it in place. Be careful to tape the wire out of the way so you don't damage it.
Next connect the spade conncectors for each lamp and make sure the lamps light. If they don't light, disconnect the spade connectors, close the door, reconnect and check again (the power to the lights times out after about 20 minutes and closing and reopening the door switches on the power again.) Each lamp should light. If it doesn't your spade connectors crimping procedures were probably defective.

Once each lamp has been successfully tested the final step is to push the projector lamps into the hole you created. First add some strips of double sided 3M auto mounting tape on the back side of the plastic pieces surrounding the lamps. Then push the spade connectors together and push each lamp into its space under the door making sure it's solidly attached to the door bottom.

 �
�
May 3, 2014
xhawk101 Excellent thanks artsci now I'm ready to install mine! Glad that I waited�
May 3, 2014
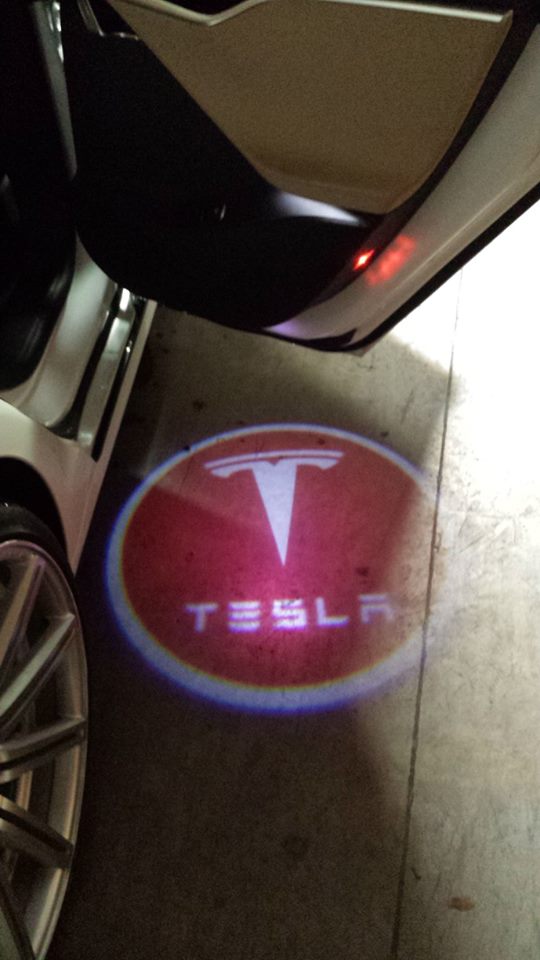
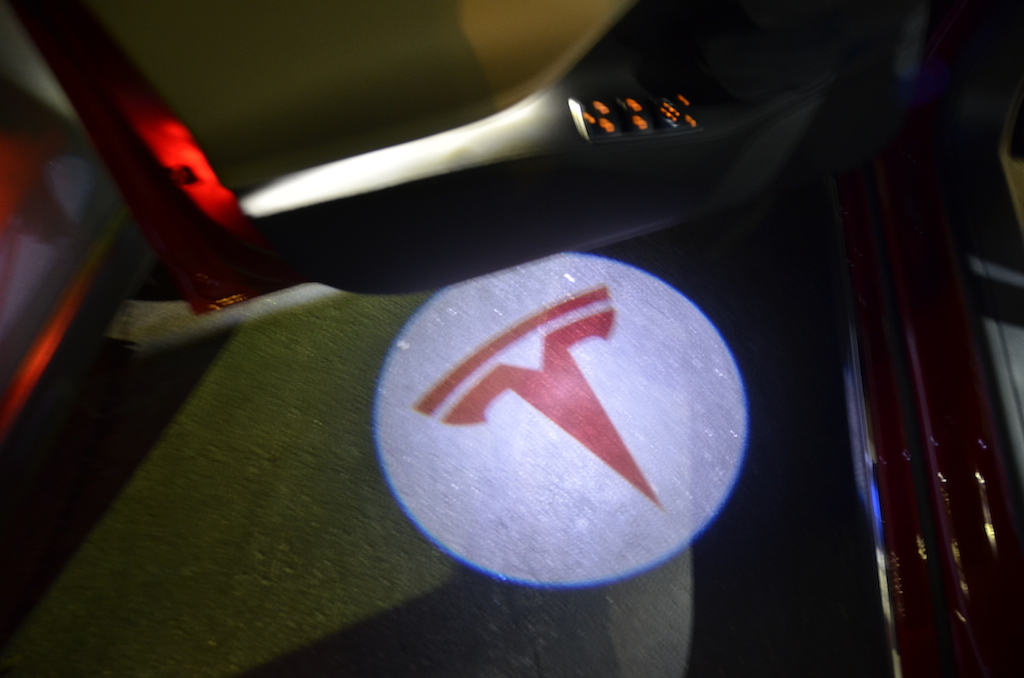
artsci Thanks. This method makes installation a piece of cake. Here are a few final photos of the results.

 �
�
May 4, 2014
albiefett AWESOME!!!�
May 16, 2014
Msolomi Guys, we installed these today in my car; without even removing the door; simply take out the existing light; and insall the new one and take out the "copper ring" that comes with the projector light; once you take this part out, it will go in without drilling or taking out part of the door; took less than 10 minutes to install two in the front doors.�
May 16, 2014
artsci Makes it easy not removing the door panel, doesn't it?�
May 24, 2014
xhawk101 Did you buy the plastic material at Home Depot or somewhere like that?�
May 24, 2014
artsci You can order it online by searching styrene sheet. Here's a source. It's easy to work with. Use a razor knife and straightedge to score, then bend and break along the score line.�
May 29, 2014
Bignikk Video??
Msolomi-looks like you got this thing down pat. We'll done!! Any chance you could post a quick video of your 10 minute installation option?�
May 30, 2014
Akikiki What to do, what to do. What do we do with the old puddle lights that we remove from the doors?
Well, there's a possible solution for repurposing them.
Missing your LED Trunk lights? Reuse your door puddle lights in the trunk.
Some S's built after July '13 do not have the LED lights in the trunk. These lights would be on the each side on the inside sort of where the brake lights are on the outside. If you look/feel down the felt/carpet surface of the inside of the trunk, you will find an imprint where the lights should be - only problem is they are not there.
The good news is that the wiring harness to power the LED lights is there behind that imprinted flap of felt material. Take a knife and enlarge the small slit at the bottom of the imprinted area. Fish around on the inside (with a finger) and you will likely find the connector for the light. (If you don't find it easily, you can peel the inside carpet felt material back starting at the charging port until you can find the wire and connector). Push the connector out through the hole and plug the LED light in.
Now you have added OEM lights to the trunk from the doors and saved $25.00 doing it.
Here's a picture of the lights.
 �
�
Jun 3, 2014
Akikiki An owner on TM ([email�protected]) came up with an improvement in the idea of the logo light installation. Here�s a note of how he did it. He has pictures on his post on TM. (I too followed his lead. Works great.)
"I just popped out the stock puddle lights, pried out the black LED insert from the clear plastic housing, broke off the side wings from the clear housing, then used the hole saw supplied with the puddle lights to drill a hole in the factory clear plastic housing. Just put it on a board and drill slowly, I was able to just hold it with my fingers. The concentric circles in the plastic perfectly centered the drill bit.
You also have to slightly enlarge the hole in the door with a Dremel in order for the projector housing nut to fit up into the door. Connect the wires and snap back into place. "
Its great that we have so many people that can take someone's idea and move it along, often making the idea better each time. For those coming after:
After removing the existing plastic puddle light from the car, you must be careful drilling out the the hole. You wind up with about 1/16 or so of plastic on the sides. Once you slide the new lamp in and run the nut down it helps strengthen the plastic light. And you want it that way.
Enlarge the hole to allow the nut to pass through and it easily snaps in place. Say again, if you don't enlarge the hole for the nut, the lamp and plastic light will not fit gracefully.
You don�t have to cut the existing connector. Just add a clip it connector to connect the Logo light wires to the existing and you can undo all this if necessary.�
Aug 29, 2014
FLDarren Just received my custom projector lights. I'll wait to post the image until they're installed. I can guarantee they look amazing. My rear doors do not have factory puddle lights. The recess is there, just no lights. Does anyone know if there is power directly under the recess? If not, I think I'll have to pop the door panels and tap into the red lights on the side.�
Aug 31, 2014
xhawk101 Got my puddle lights. .looks like the batman call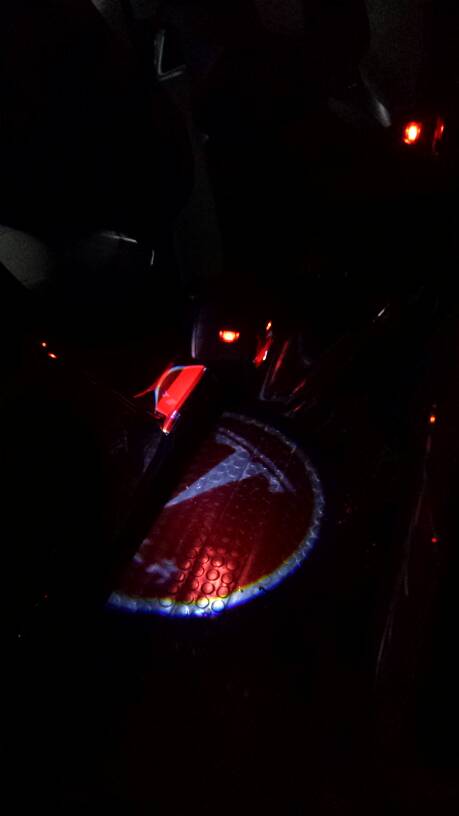 �
�
Sep 21, 2014
FLDarren Installed my custom puddle lights last week. Thank you Great Dane for the help. We didn't use the mounting tape as we felt we needed a more permanent hold. We used two little screws to hold the projector light in place. There was just enough meat (hard plastic) for the screws to grab hold. The light is completely flush with the bottom of the door. Once I get more time I'll install the other three doors. The driver door is done and thats the one that matters the most.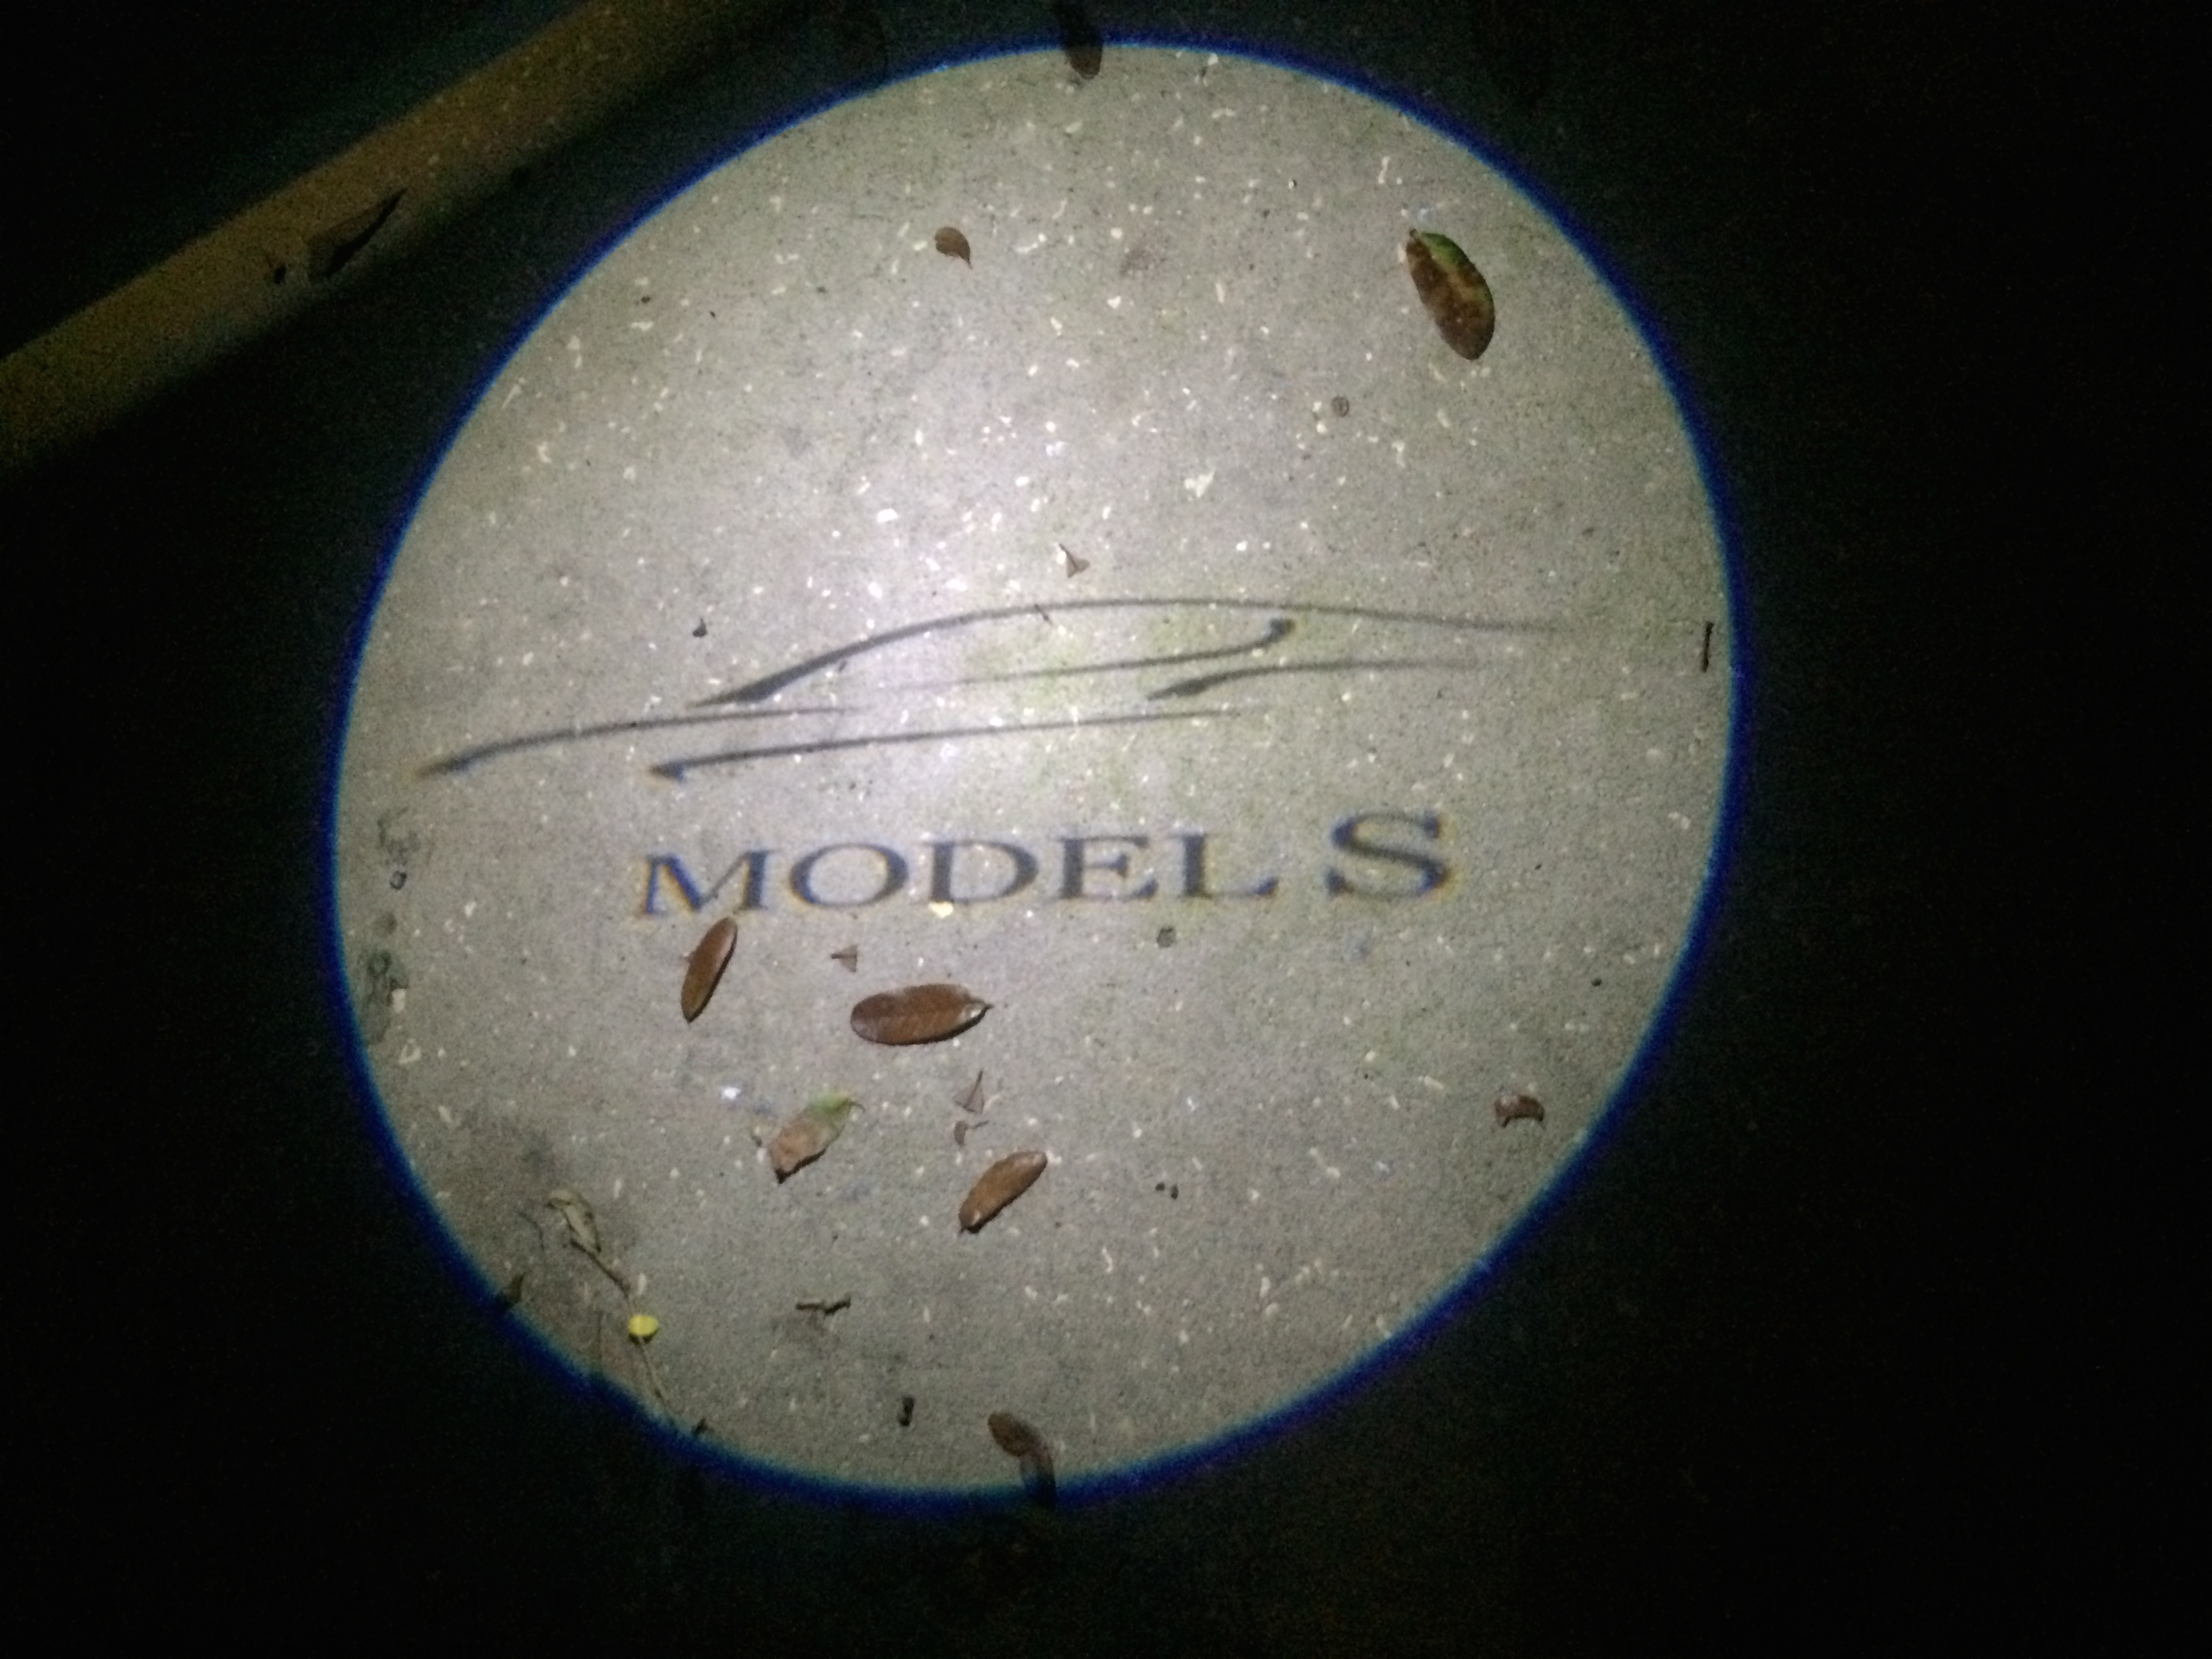 �
�
Oct 8, 2014
Kofi This light looks more standard than the big logo puddle lights.�
Oct 8, 2014
FLDarren That was my intent. Just my opinion but in order for a mod to look good it must look factory. Anything too flashy like the Lumilor paint, is just tacky IMO.�
Dec 2, 2014
Pappjeger FlDarren; Very nice mod. I have two questions: any chanche I could get the same logo that you have made, and did you ever find out about if there where wires in the backdoors? I to have the reccess but no light. The car was built November 4 th. I put in the red logo lights, but I am not shore if it is too much ot not�
Dec 8, 2014
FLDarren Here's the sample image I used and sent to the eBay seller to make my lights in case anyone else would like to use them. The more the merrier. �
�
Dec 13, 2014
rekoh I had to replace mine.. they were 4X which is the really big diameter.. the driver side was fading/burning through the film, so it was looking very washed out after a year. I purchased the 2x size.. smaller diameter, but cleaner/sharper image. The red looks really red versus the pinkish red I had before with the extra magnification. Ease to do...�
Dec 13, 2014
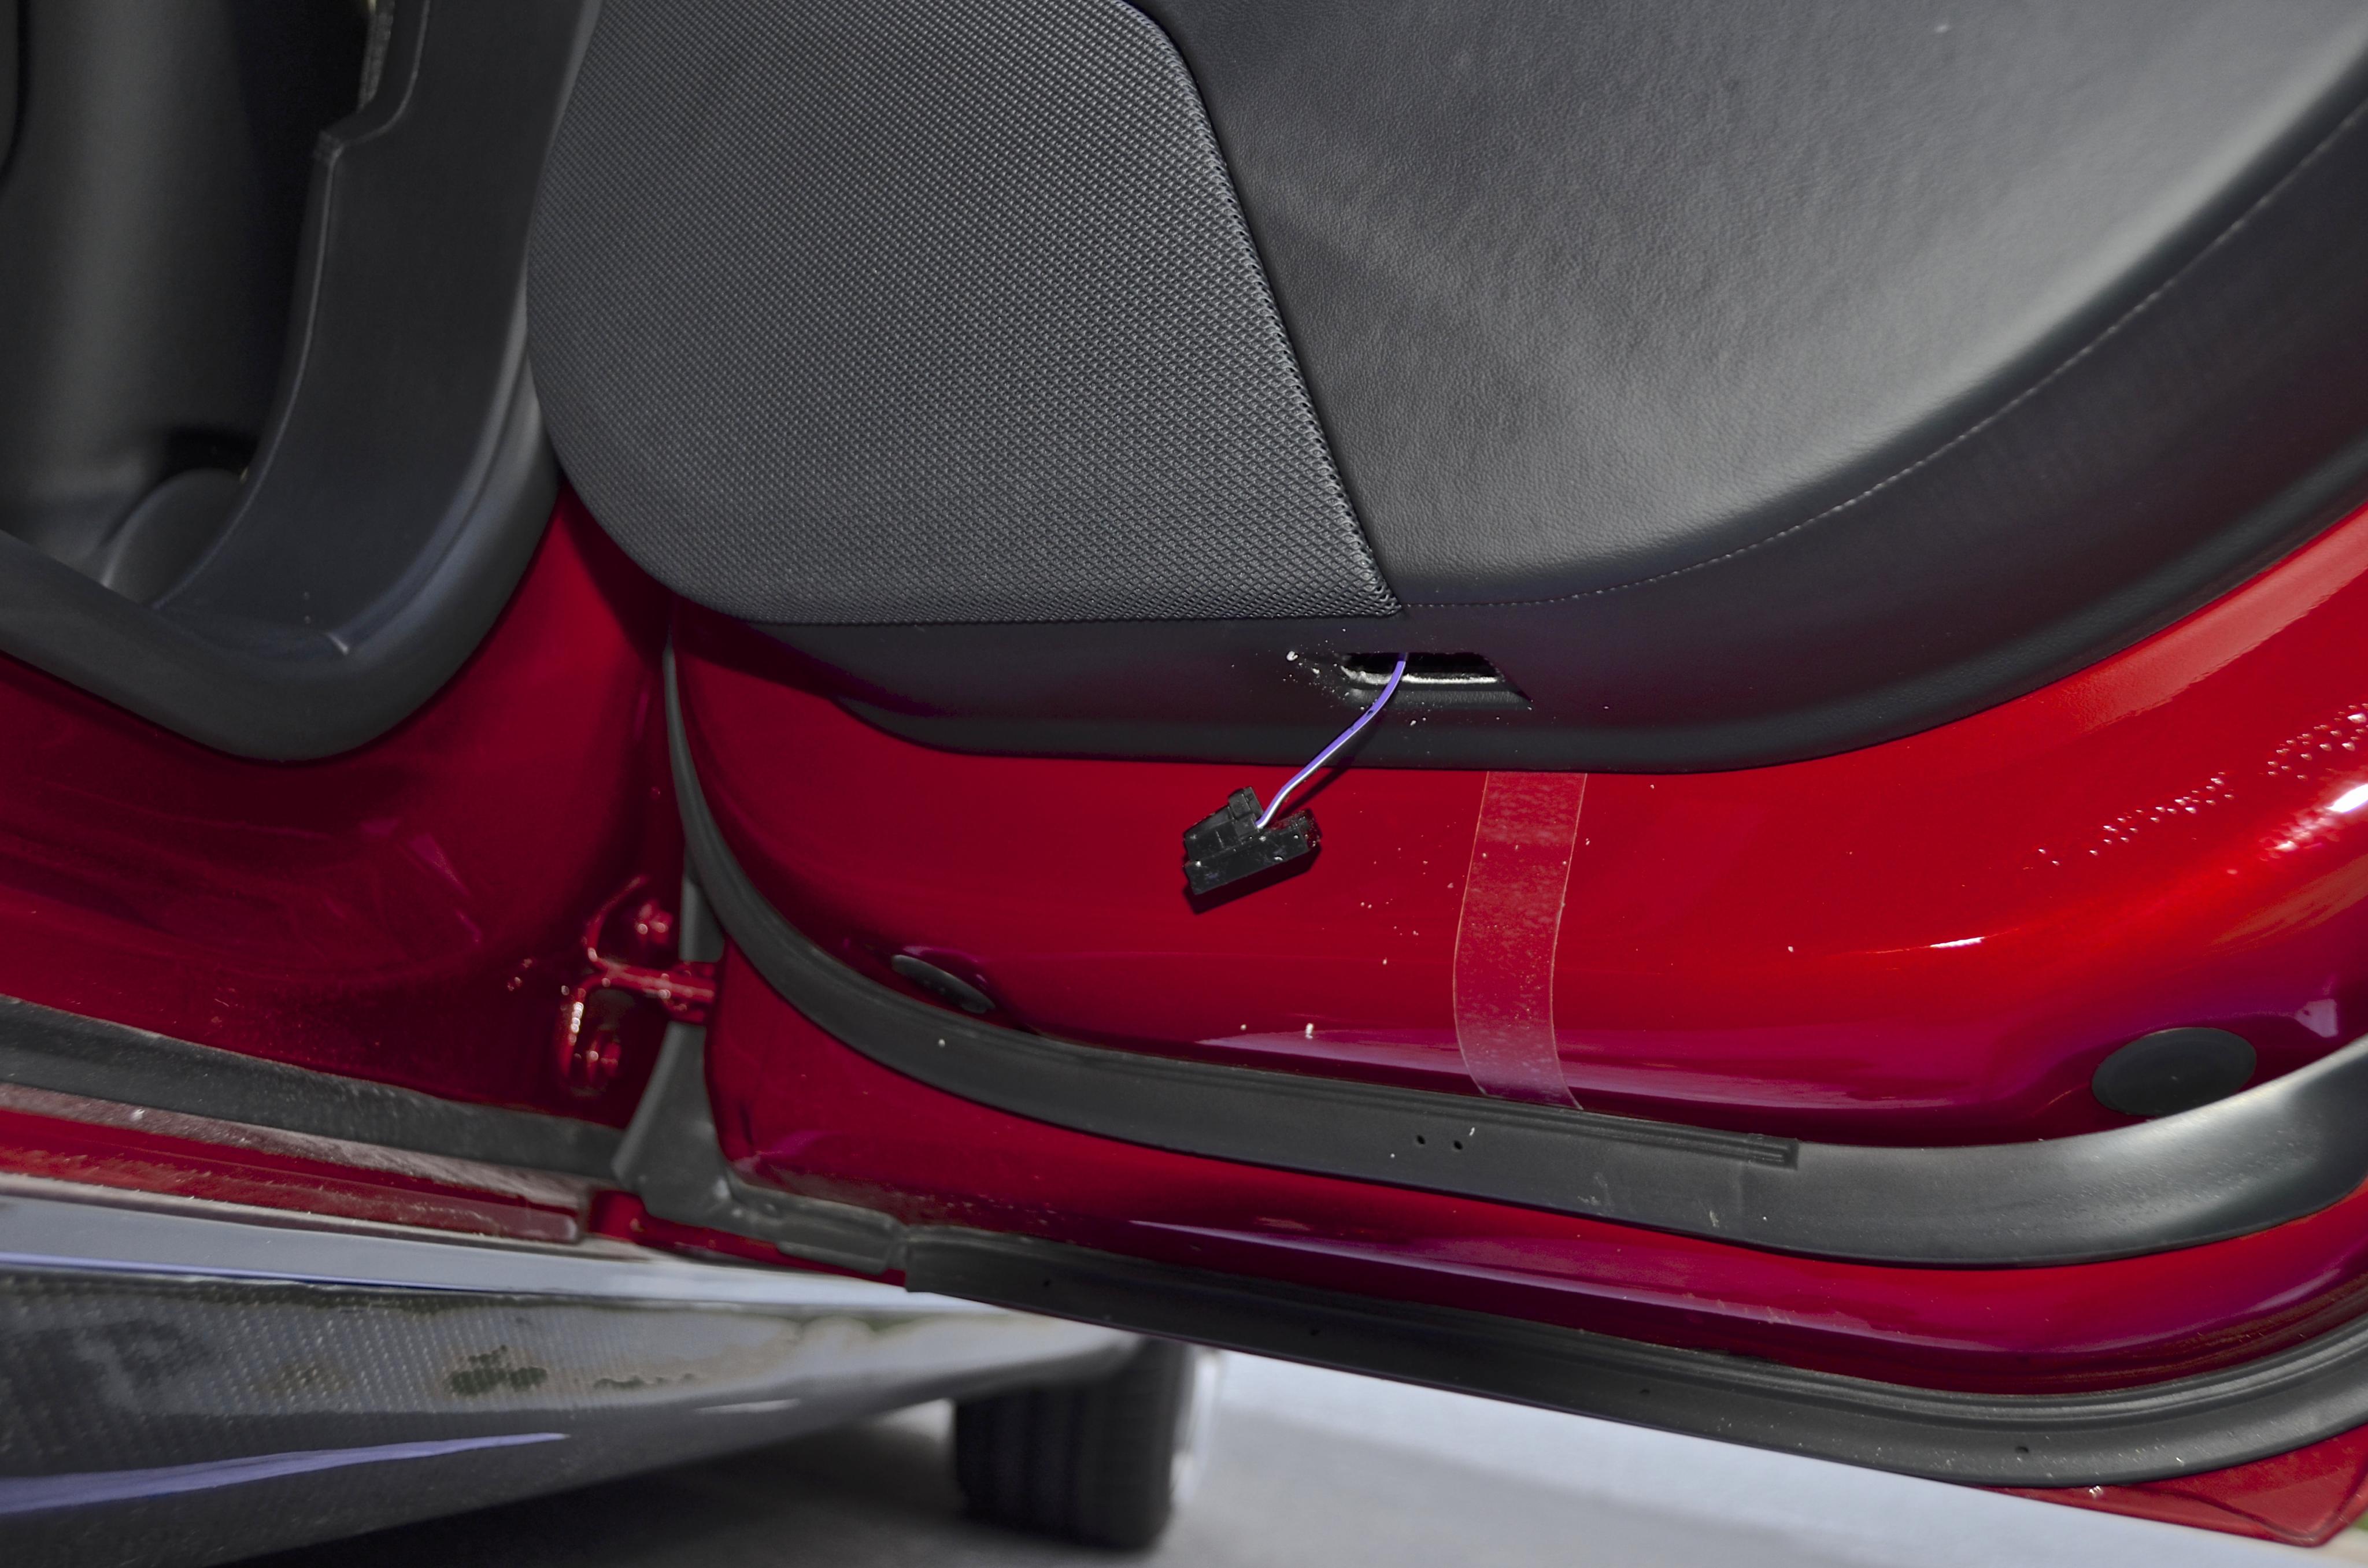
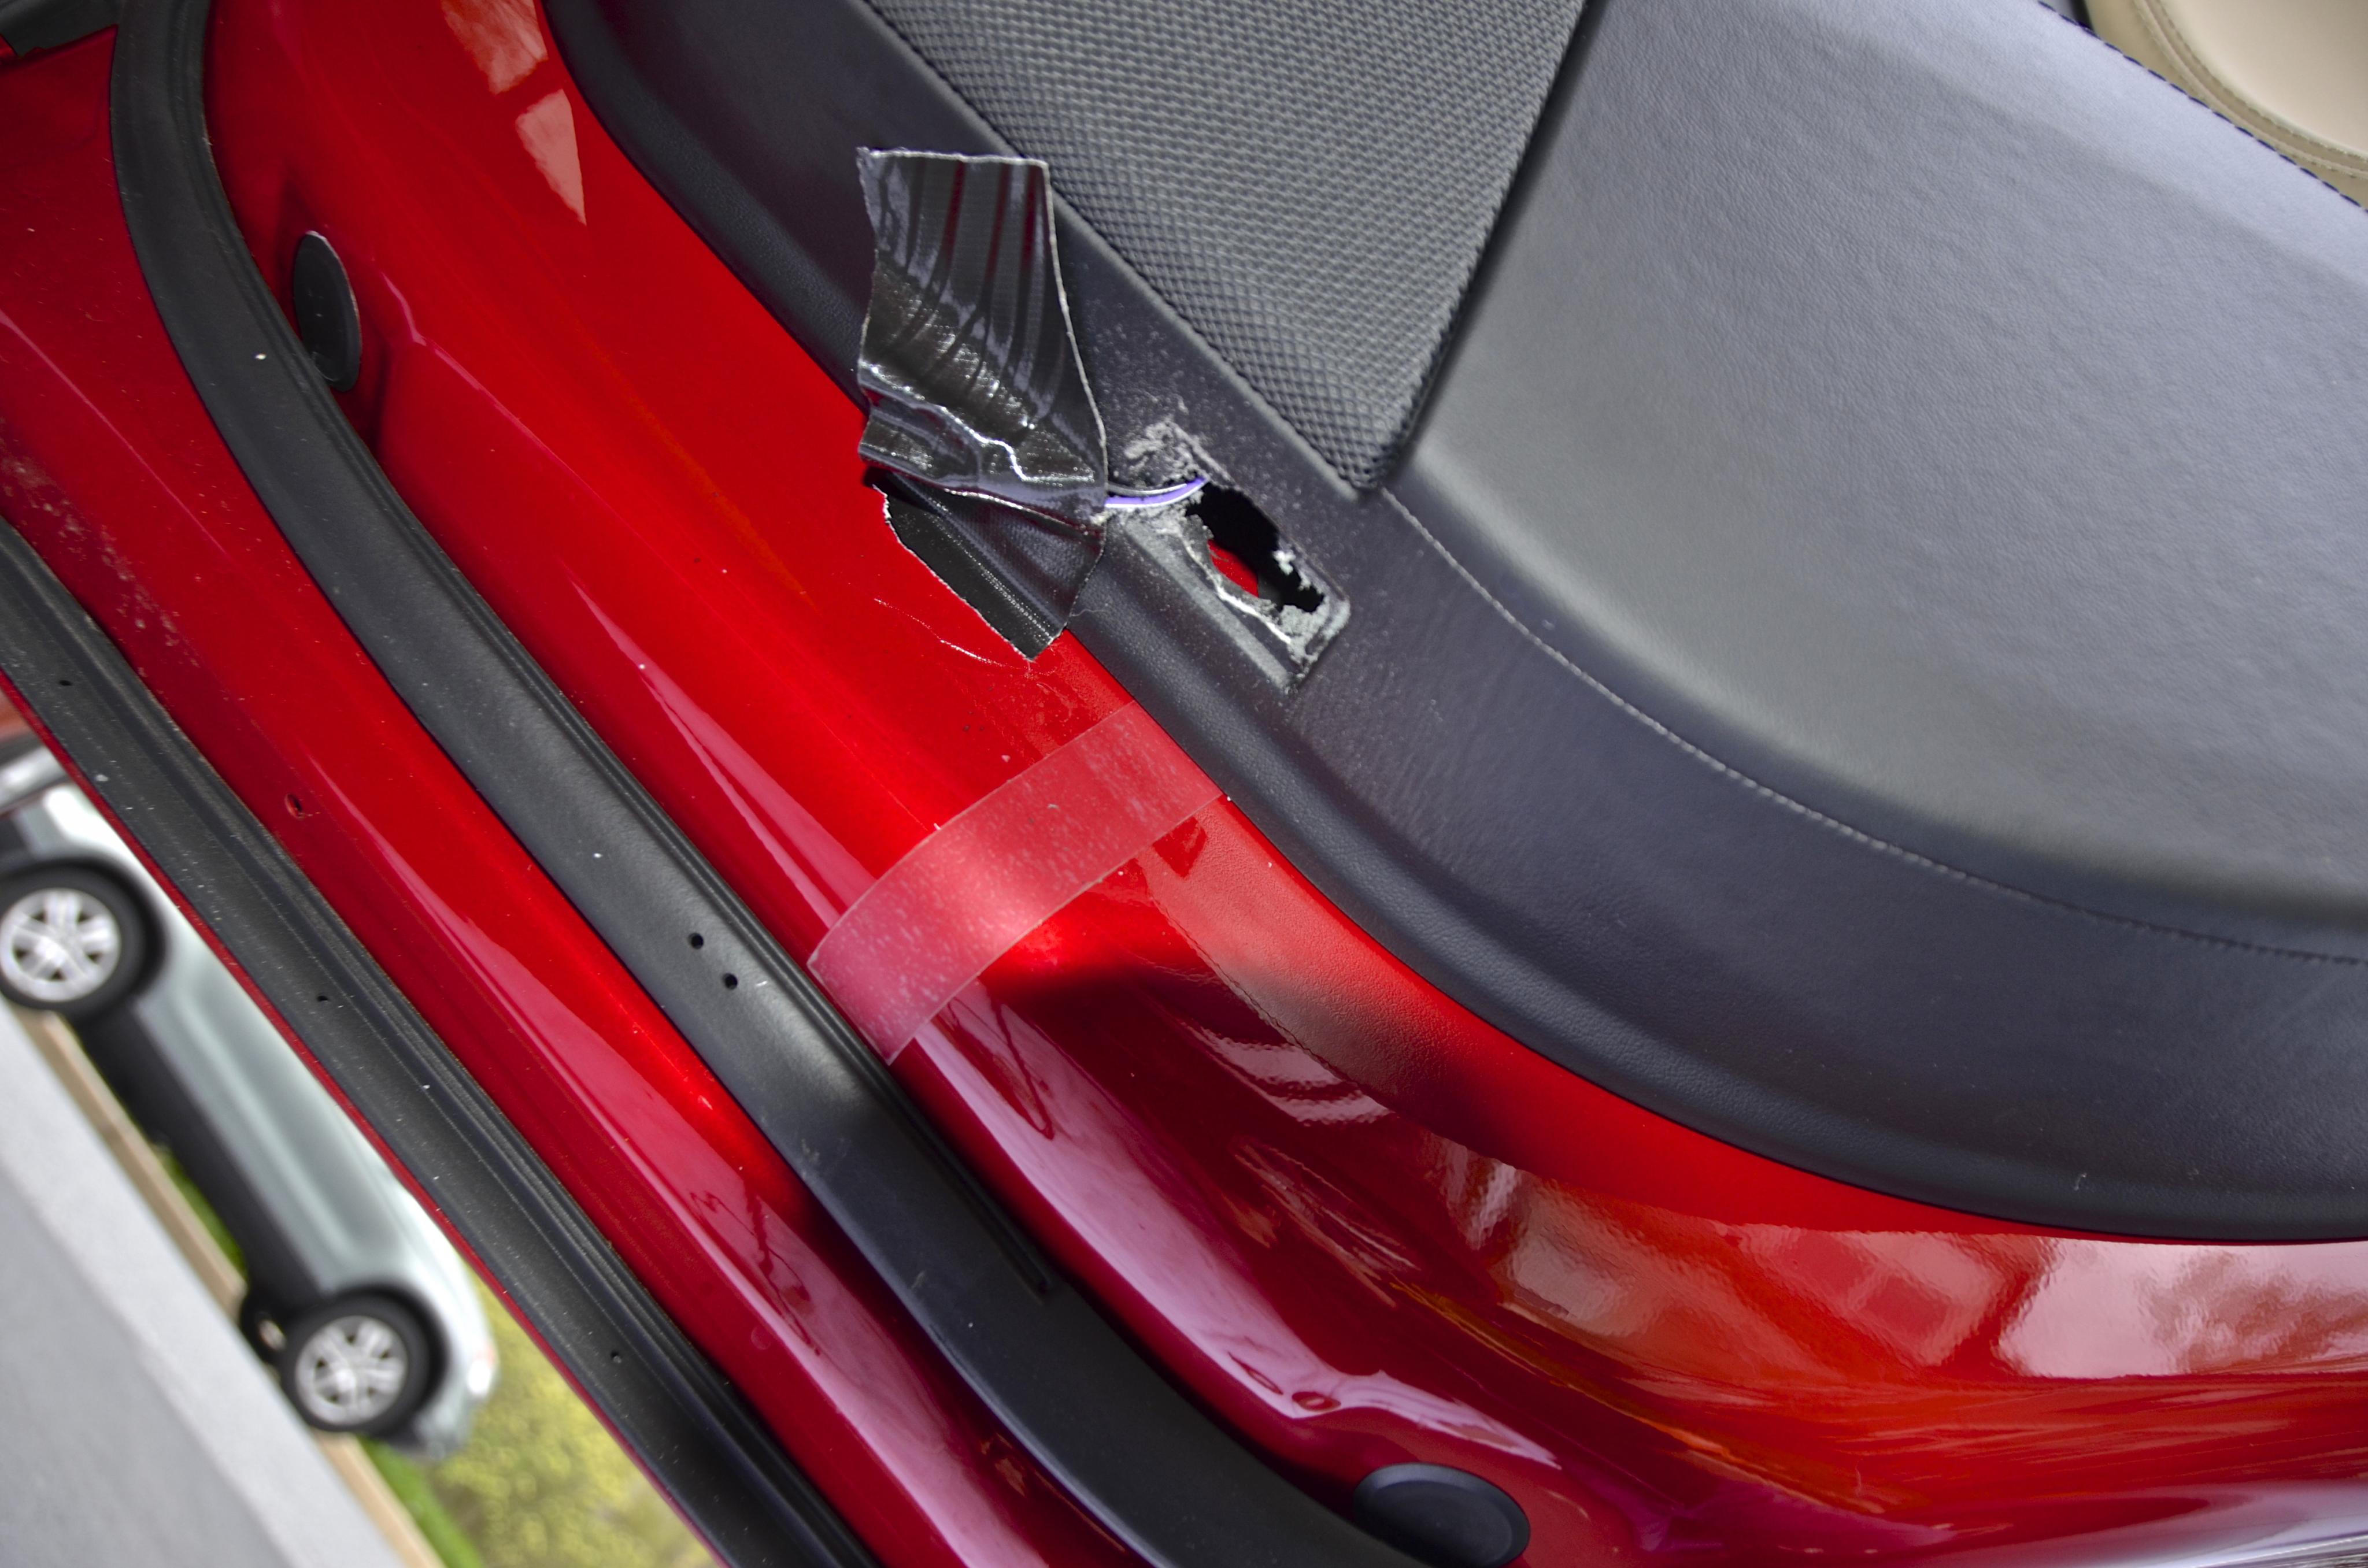
FLDarren We all have power to the bottom of the door panel. Top picture- The connector on the far left leads to the red light on the outside of the door panel. The connector in the middle of the picture is for the accent lighting? It doubles back over the other wires. Bottom picture- The unused connector in my hand has to be for the ground light. It is folded and taped onto the group of wires exiting the door. Seems like the right area. Haven't tested them for power, will do soon.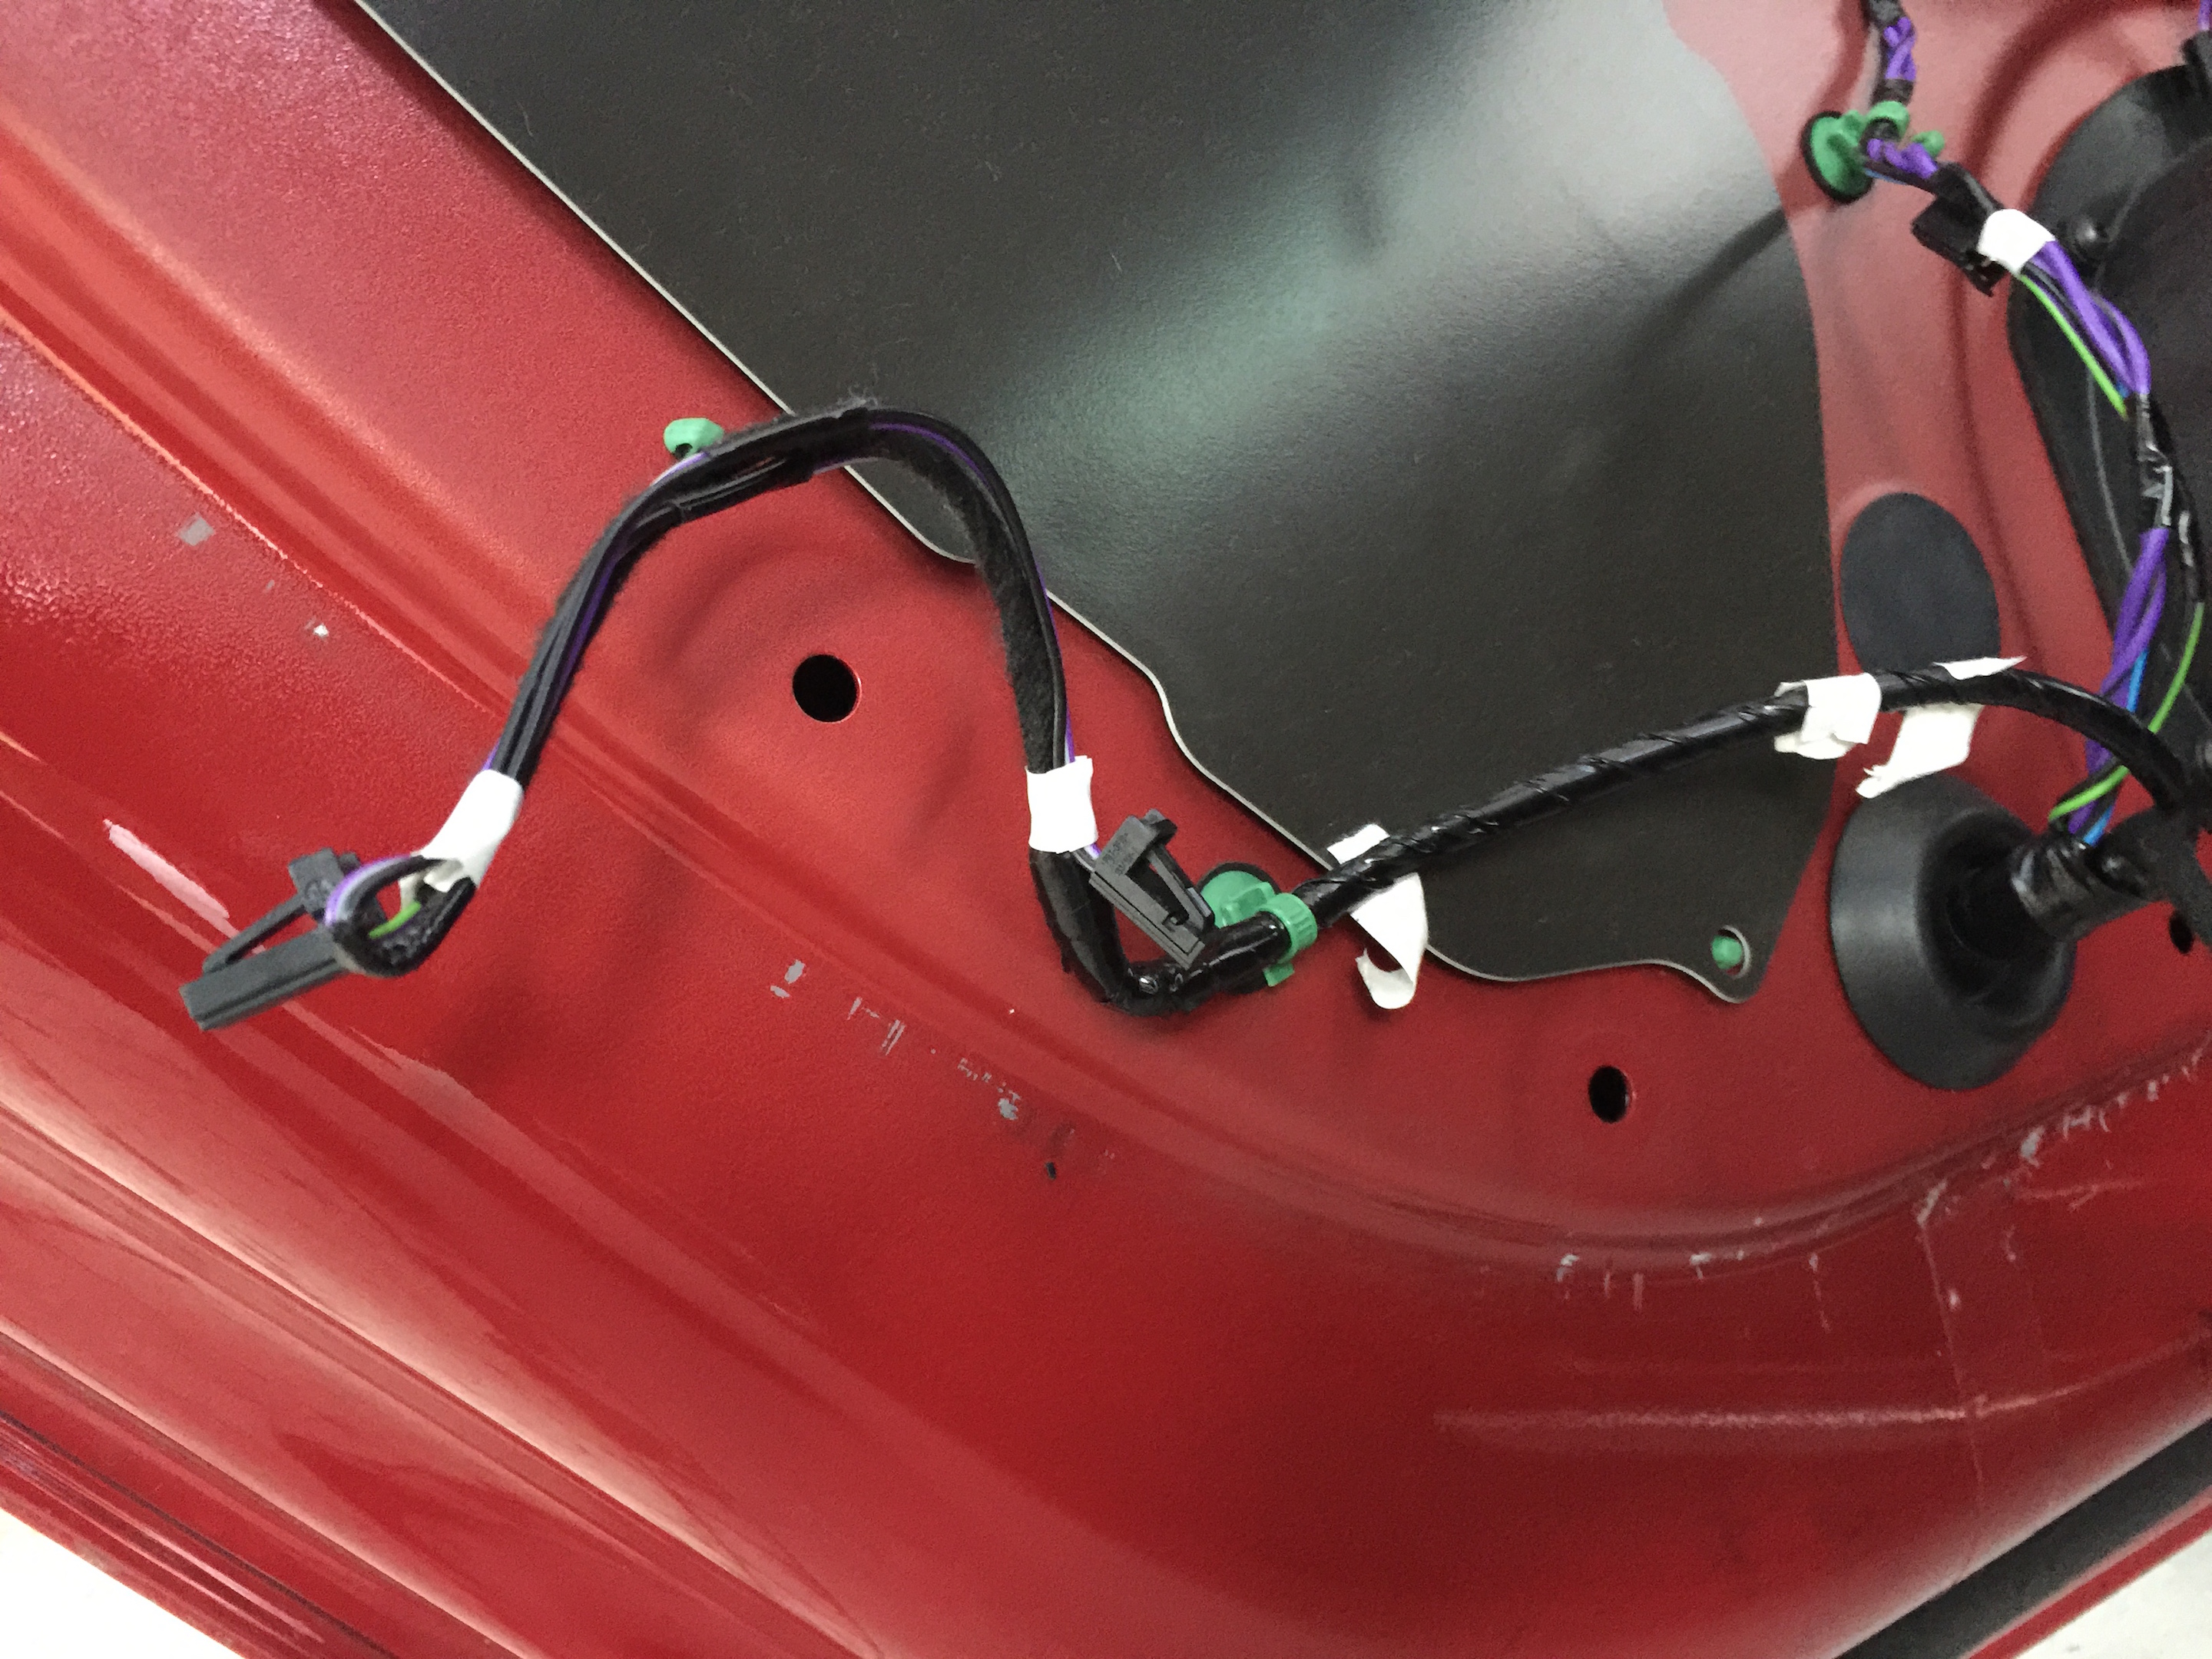
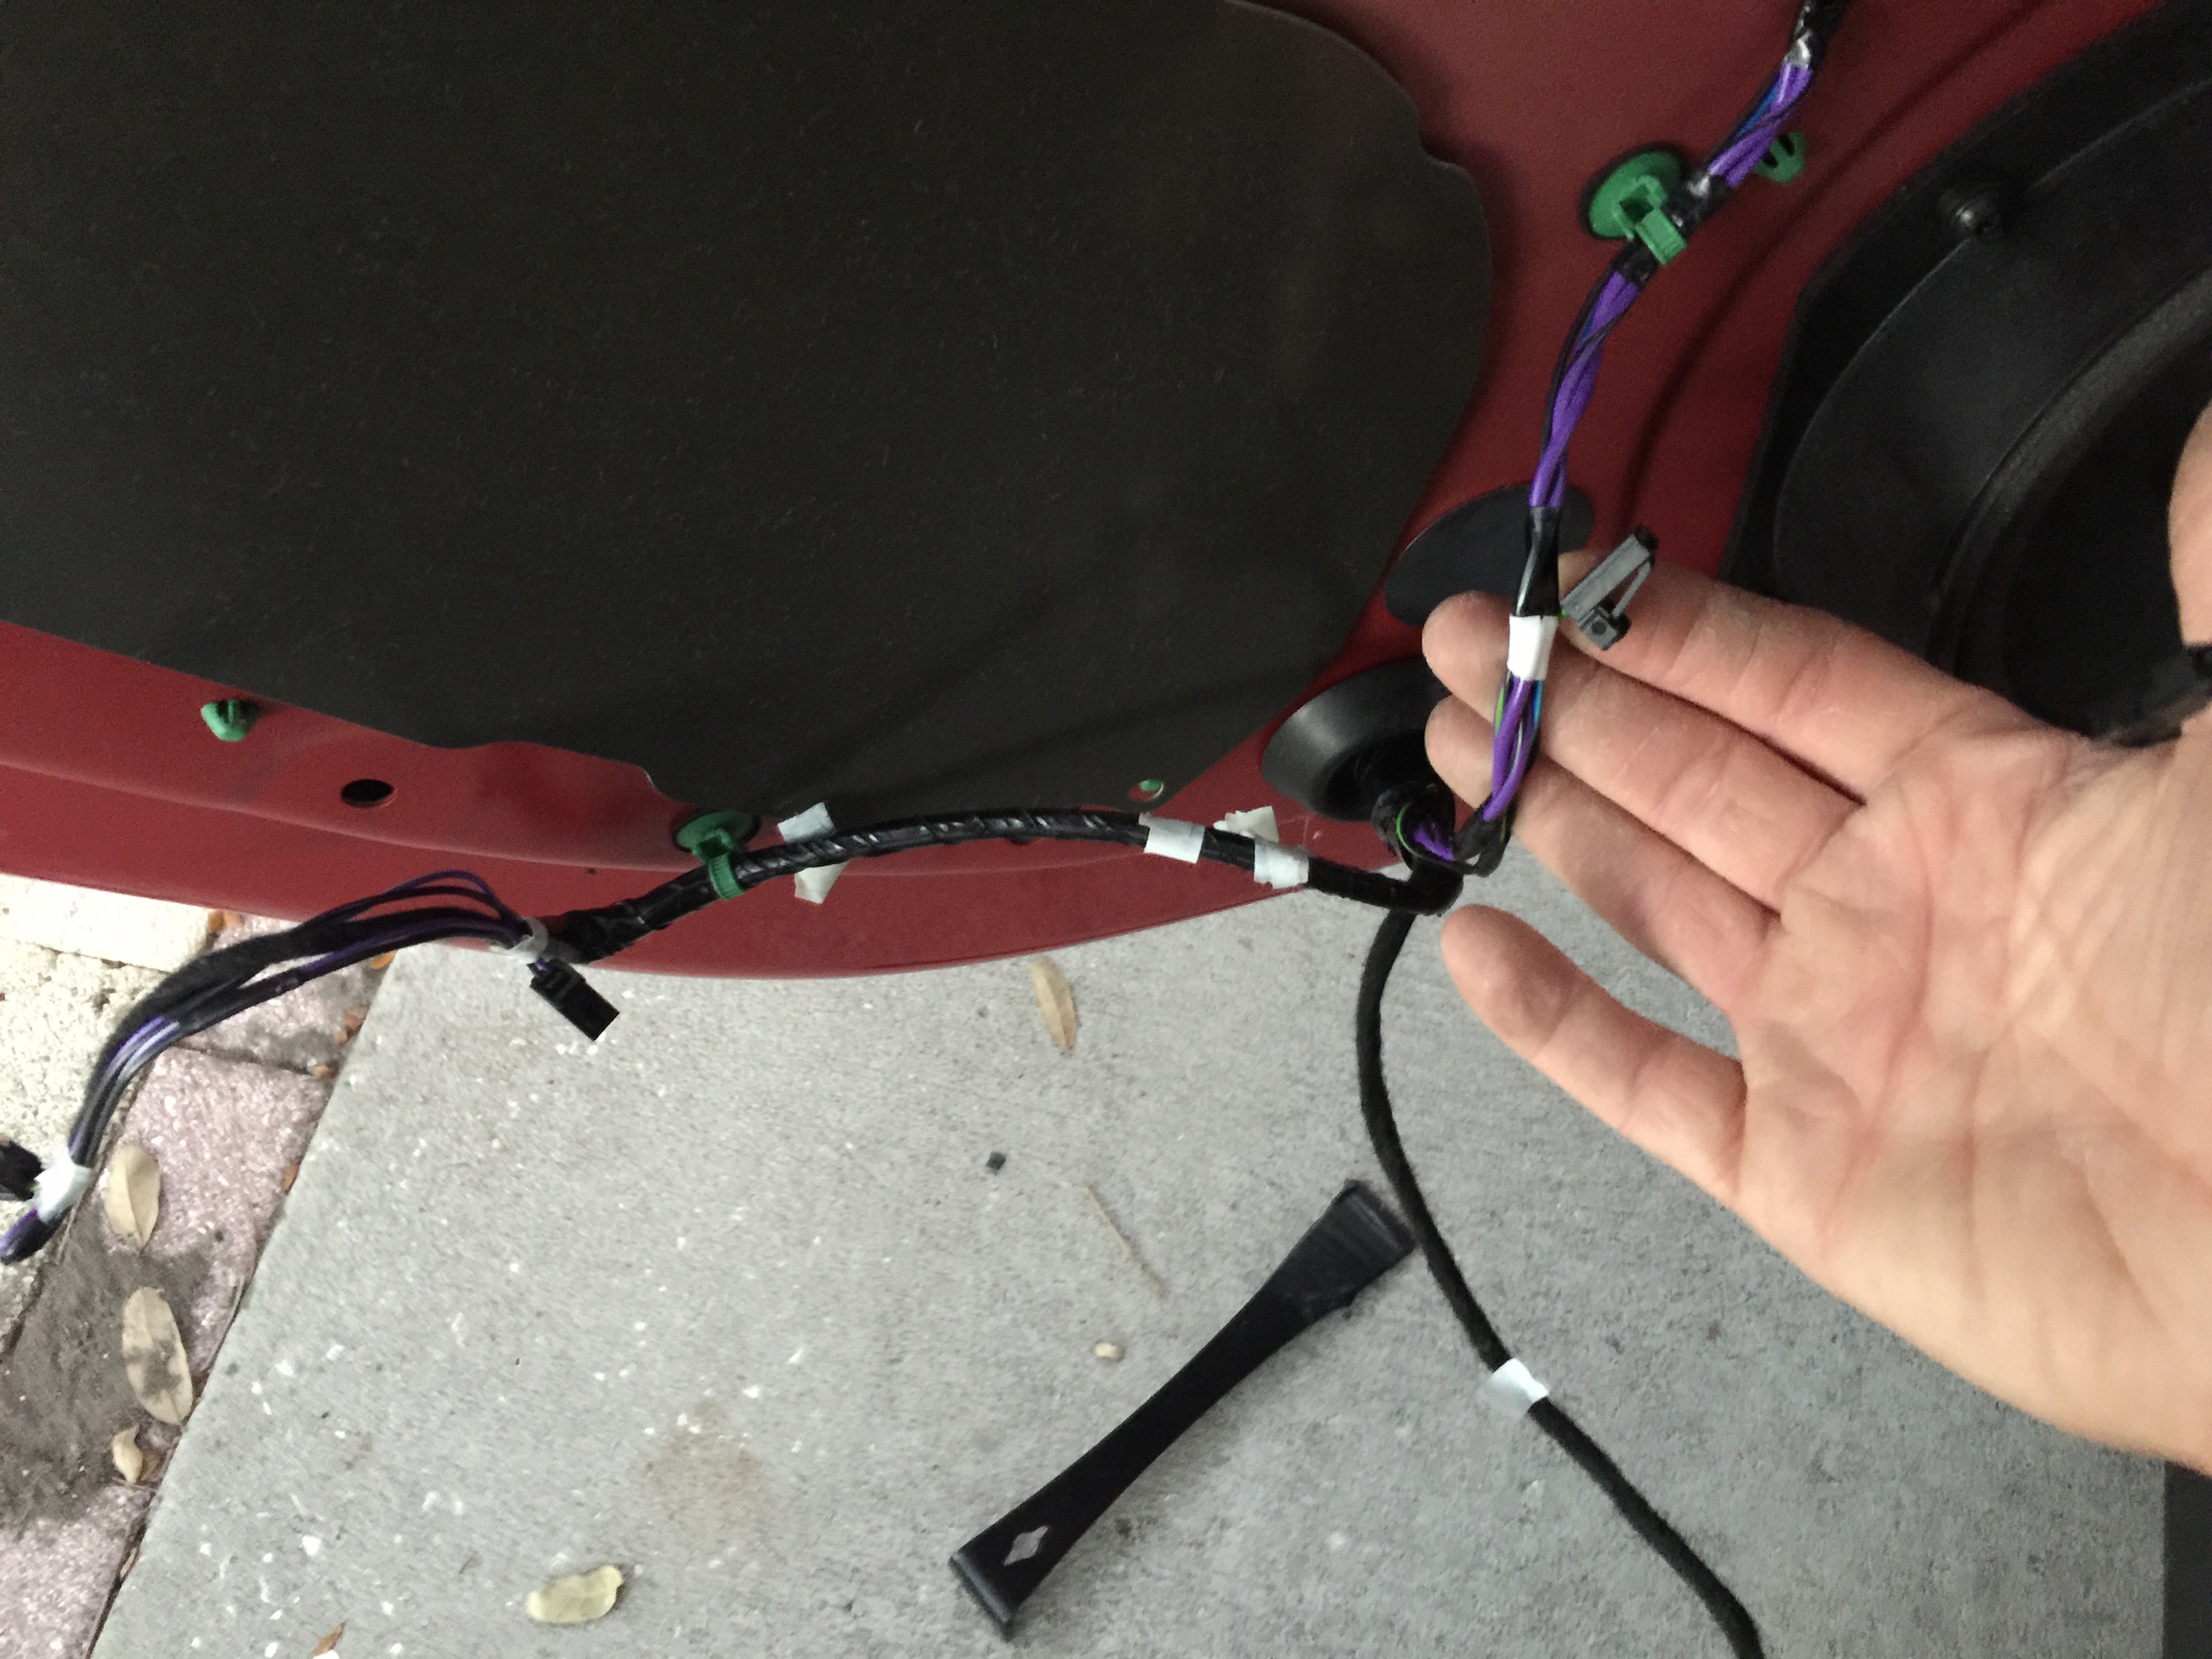 �
�
Không có nhận xét nào:
Đăng nhận xét